- Model : : DeLorean DMC
- Maker : : Eaglemoss
- First edition year : : 2017
- Scale : : 1/8
- Matter :: Aluminum, plastic
I wanted to make a DeLorean for years. Possibilities were not infinite. There is an acceptable Aoshima kit (reviewed in french by my friend Yvan West Laurence here) but when I learnt three years ago the publication of an “easy to do it yourself kit” from Eaglemoss including only 458 issues at the special price of 15$99 each, I didn’t hesitate one second. So this article is about the Delorean Eaglemoss assembly and of course, the result.
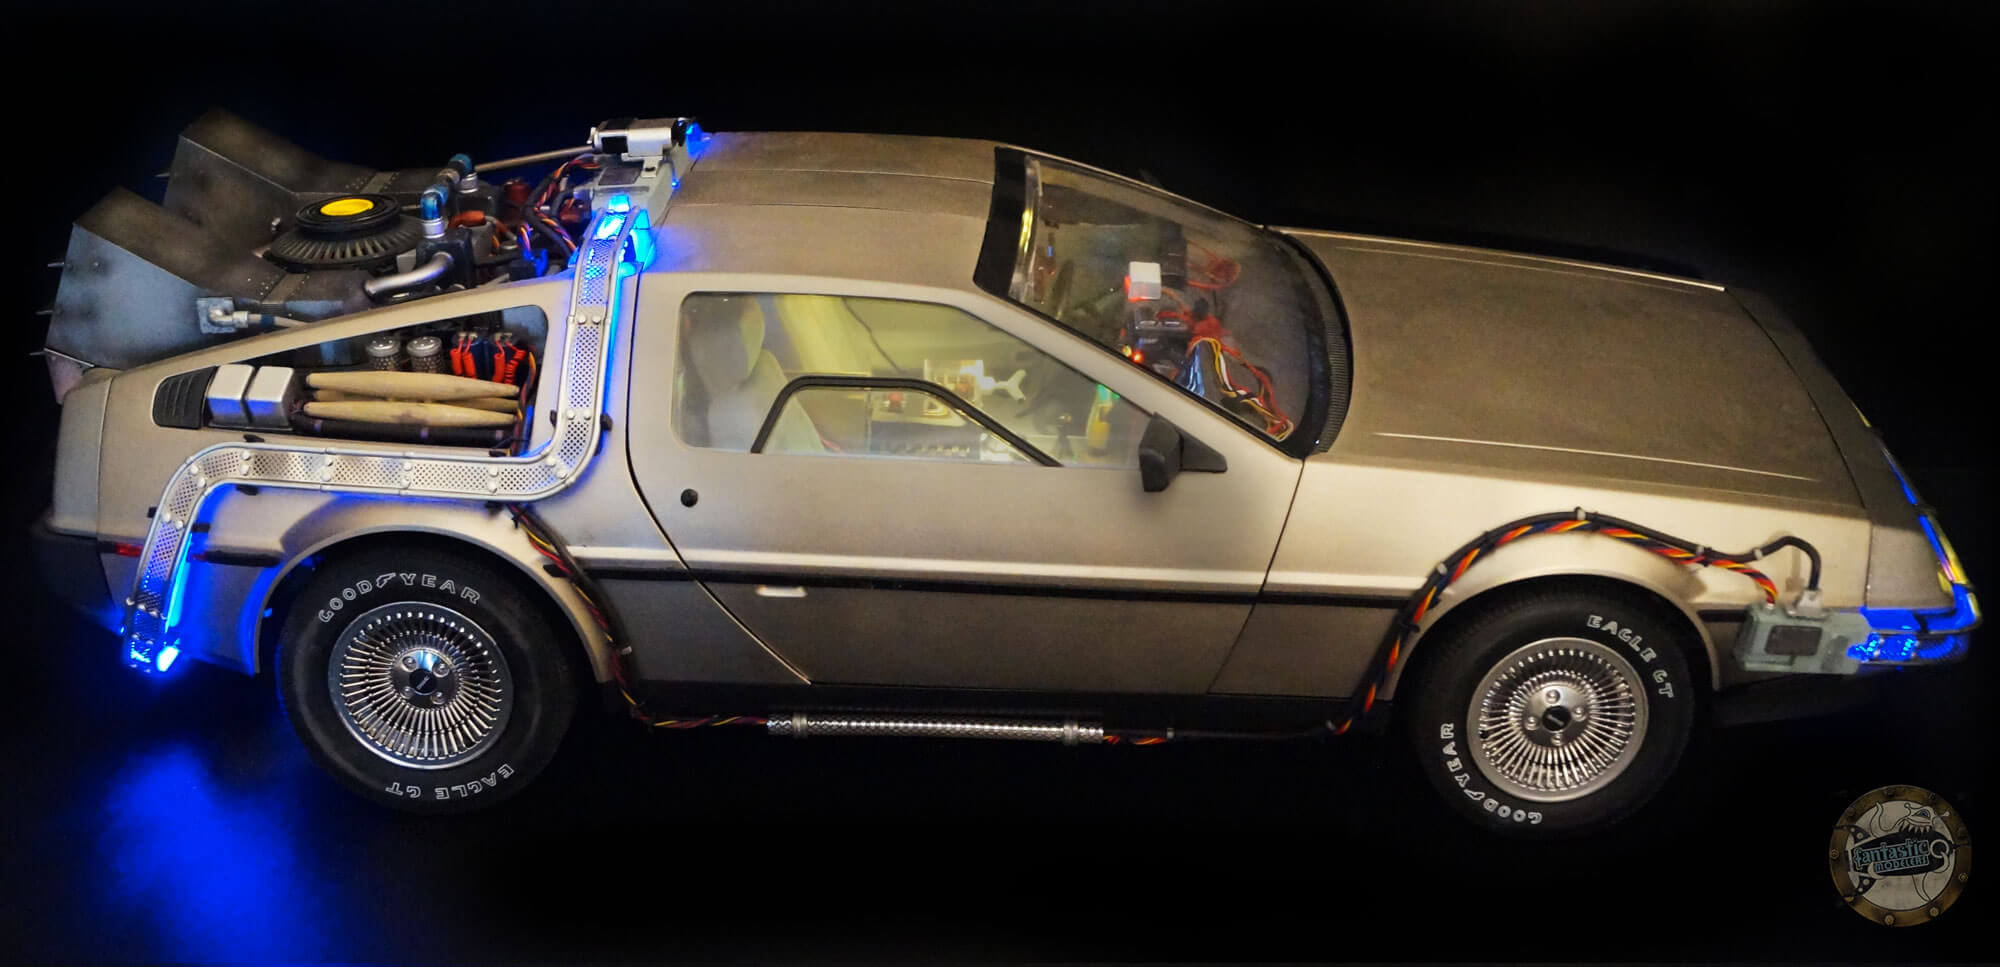
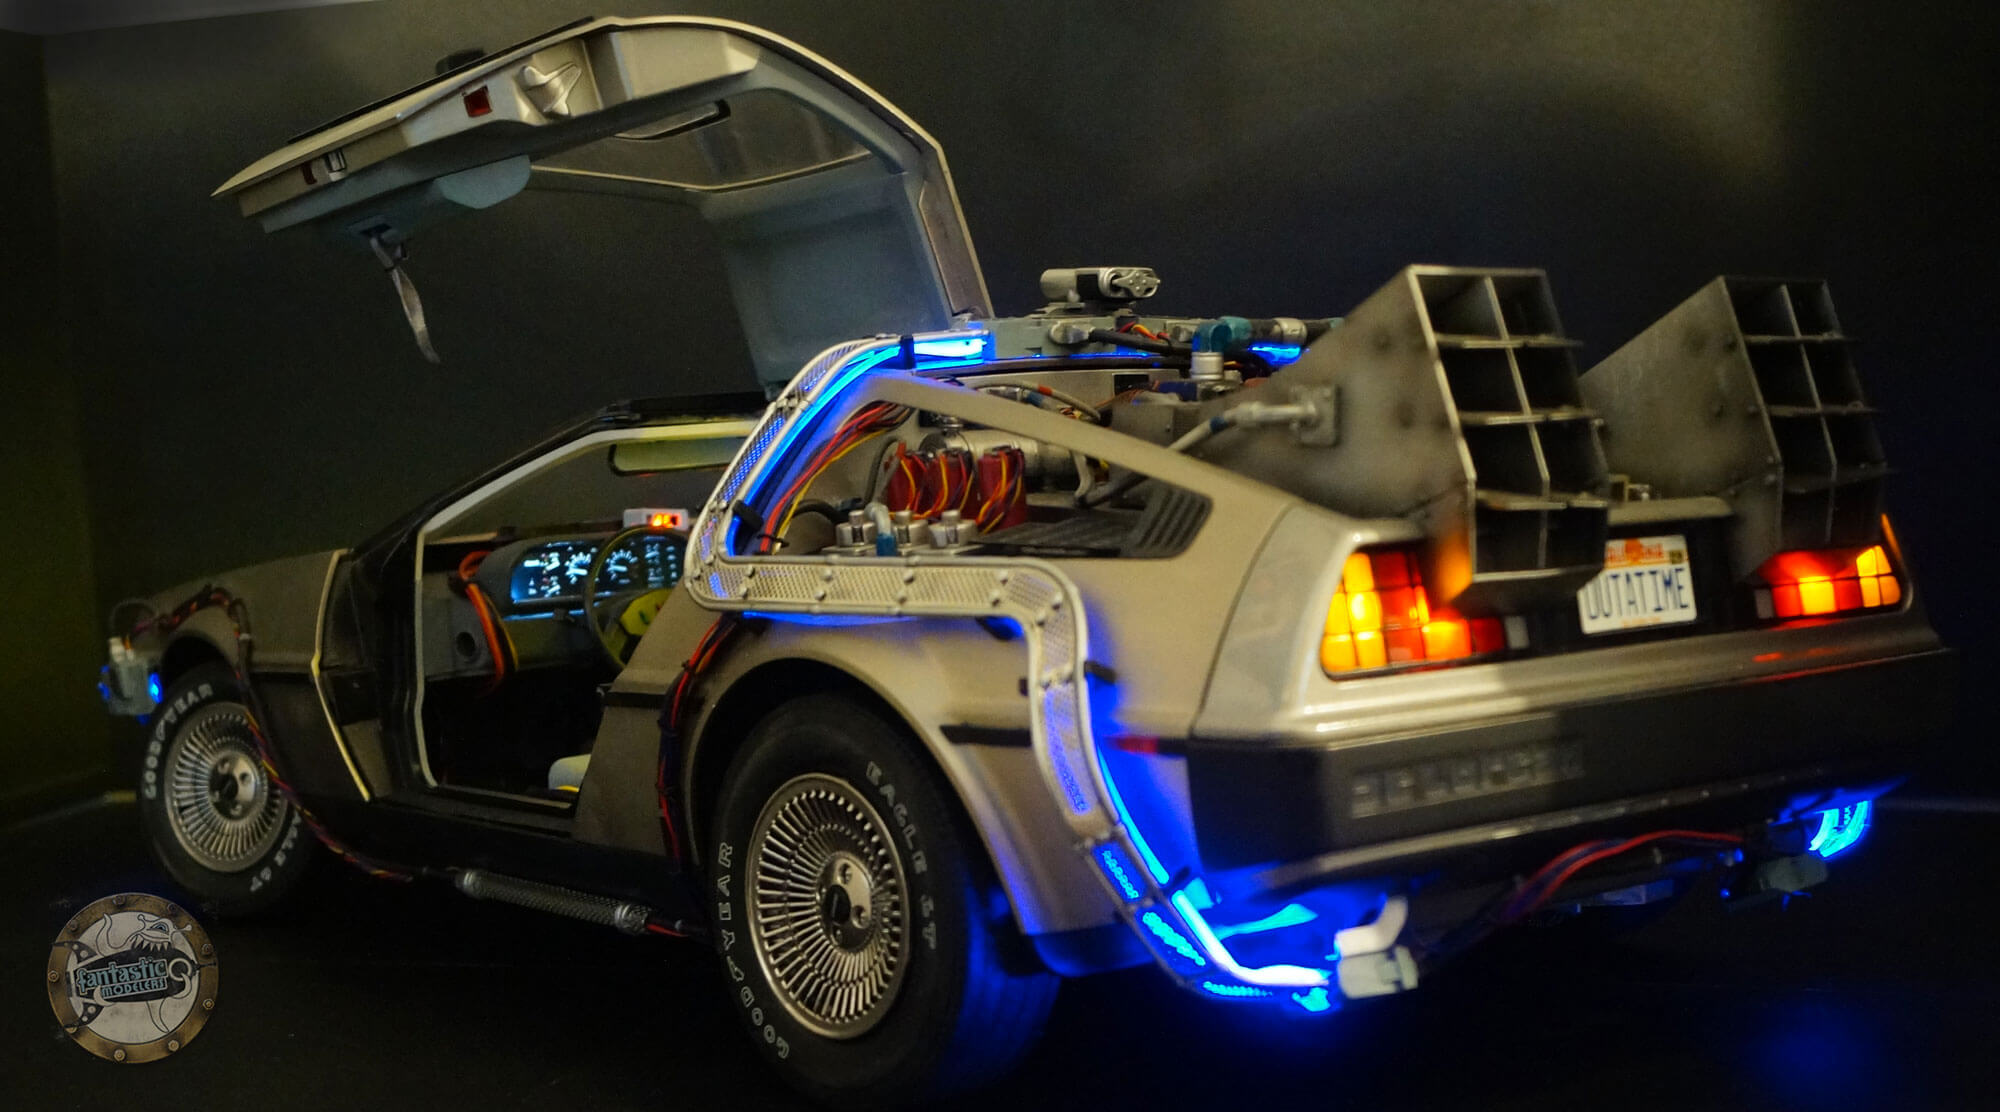
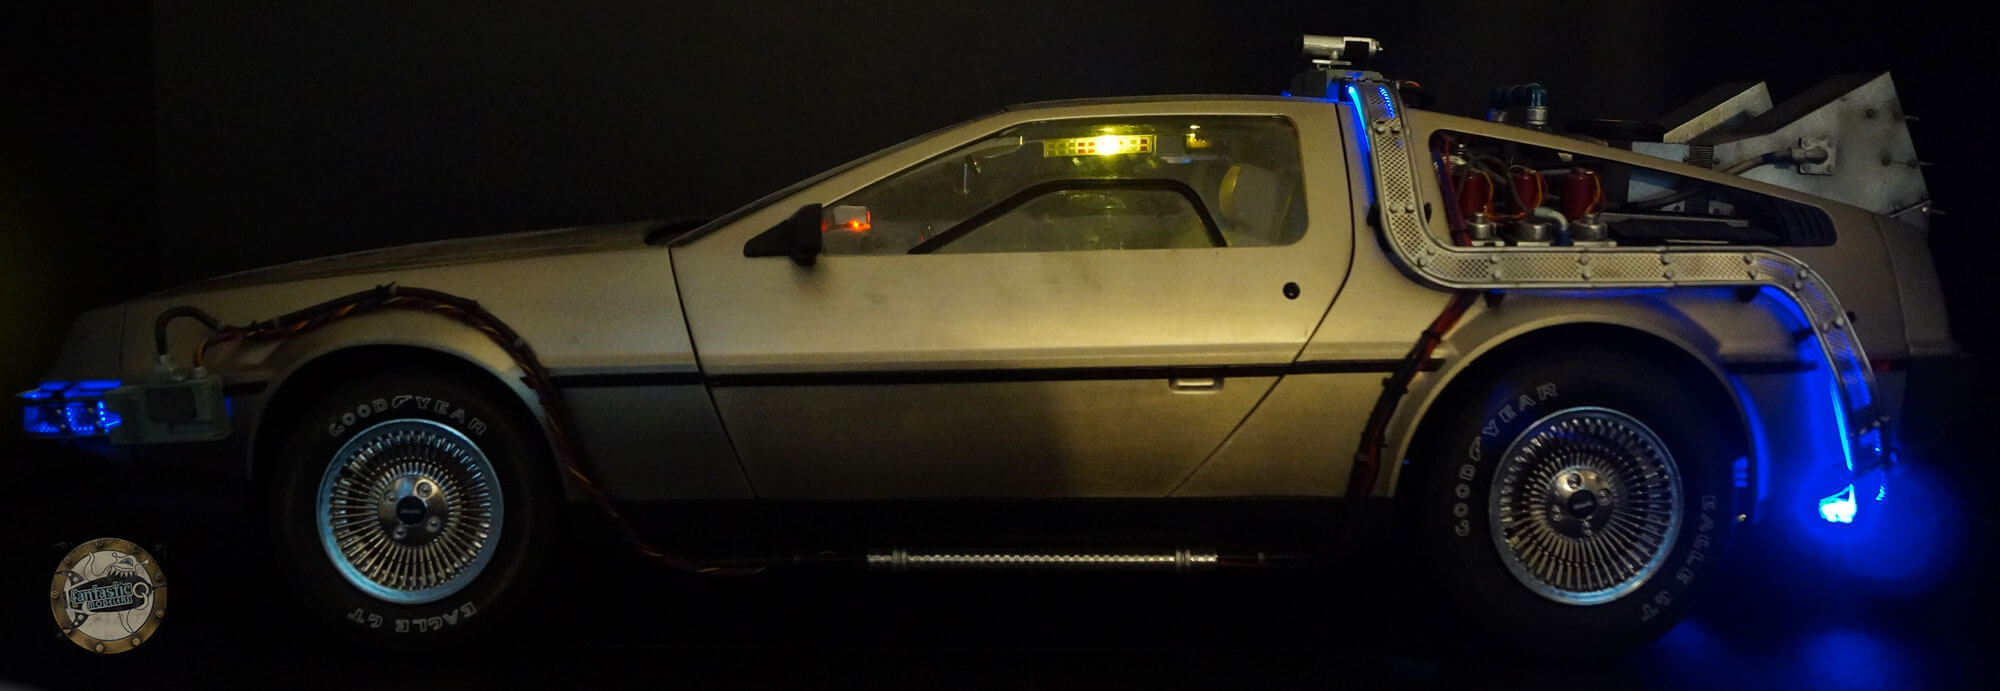
Full Metal Maquette
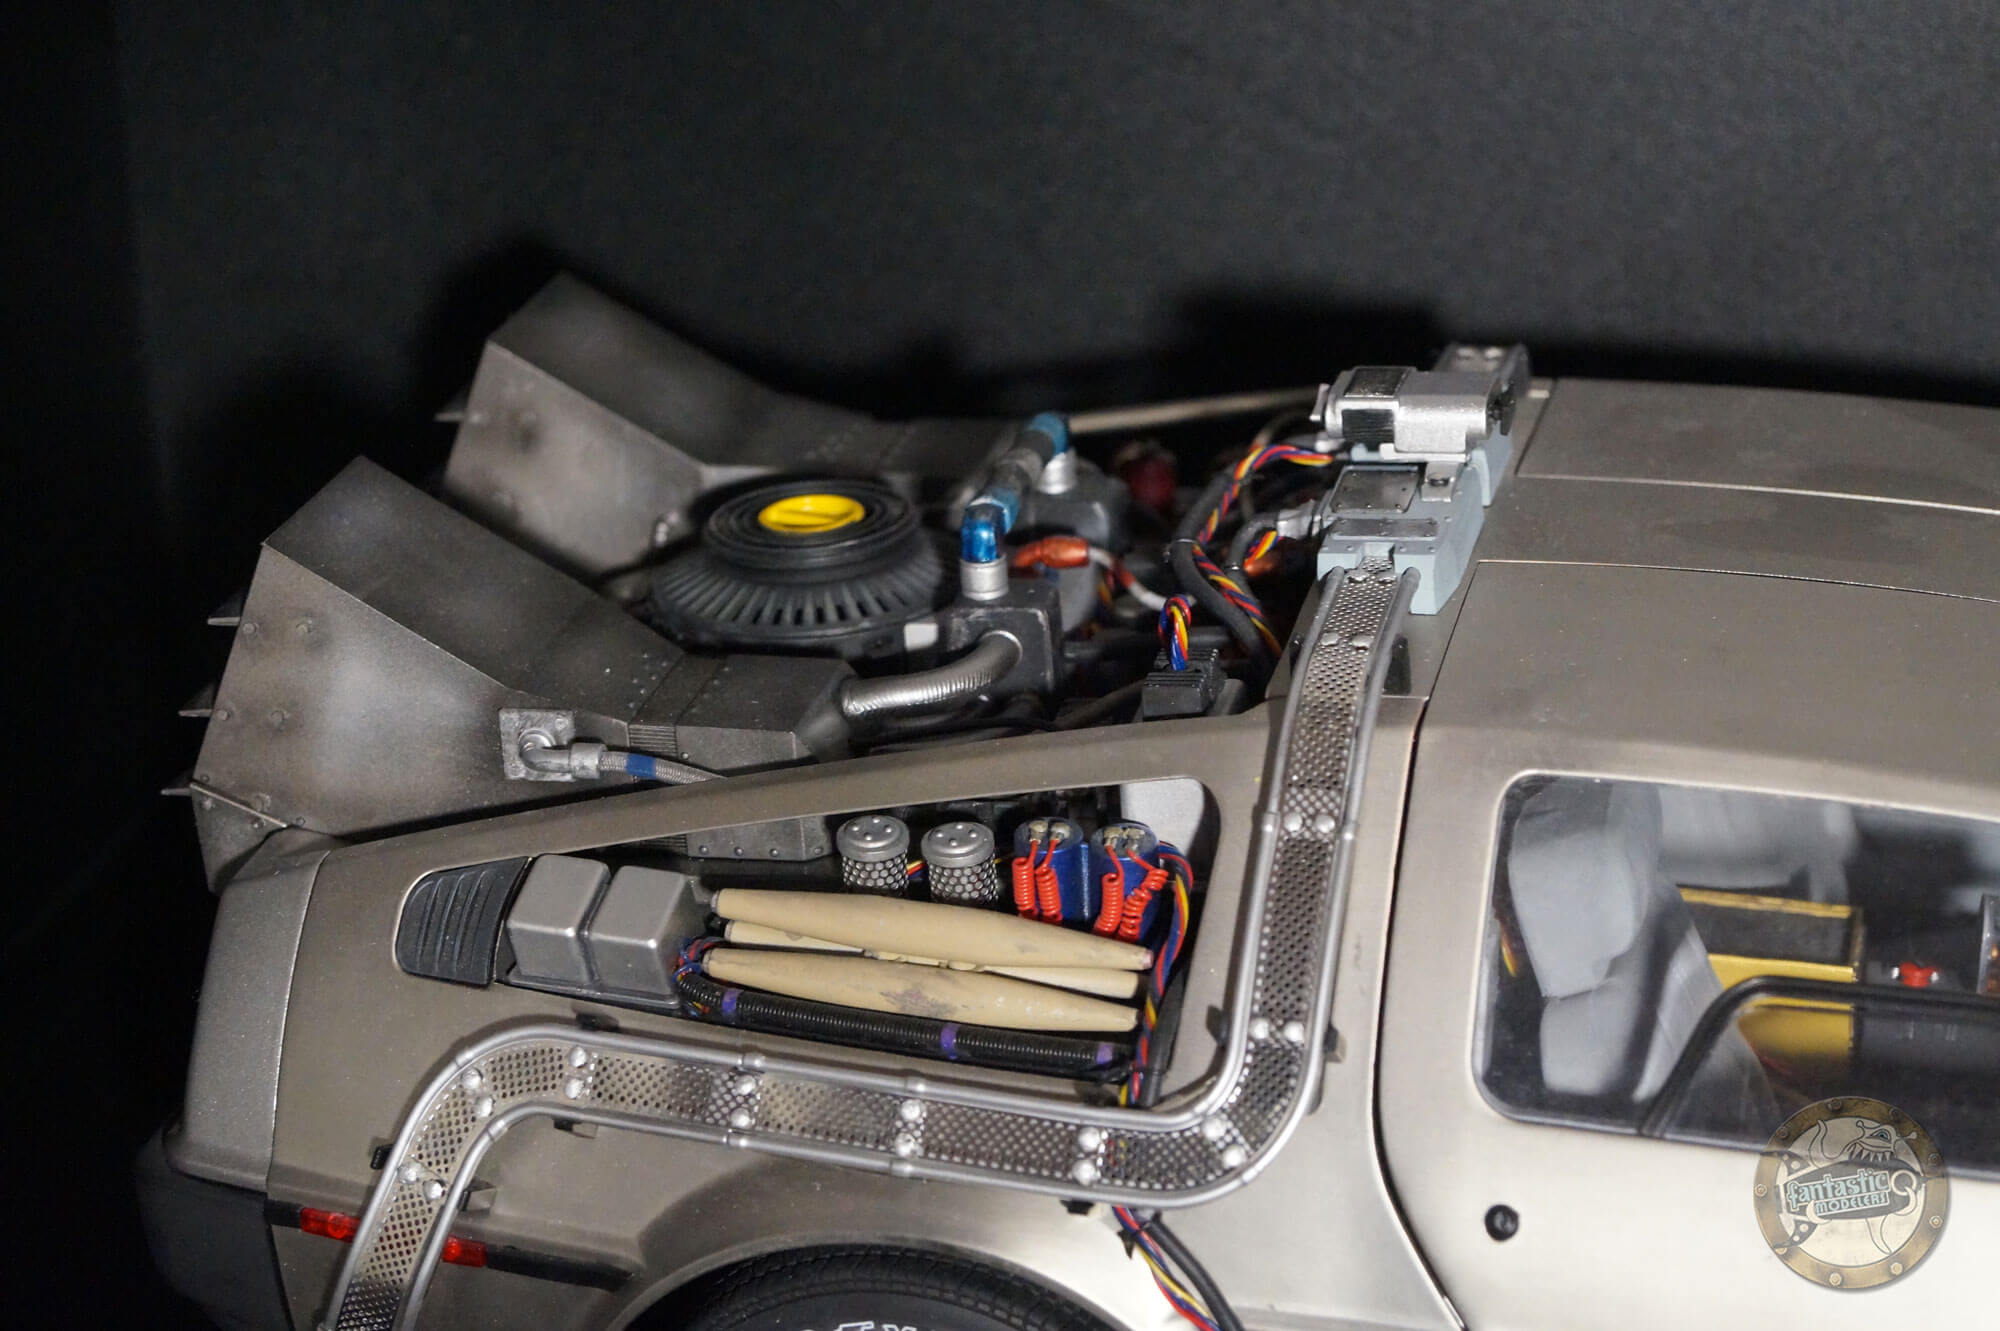
It’s been a while since I wanted to write this pun. Well I understand this is a french one but it’s hard to translate a pun. So be it. Indeed, the DeLorean Eaglemoss is metal made. Not a magnetic one, I had disappointments trying to use magnets for the fixing of some modified parts. I’d say it’s aluminum made or maybe some aluminium alloy.
Honnestly, I didn’t have many modifications to make. In fact I almost only had to follow the assembly use. I already made tyhe Millenium Falcon from De Agostini and there I had to do many modificatons. I will ony show you the few improvements I made, it will go fast, you will be in time for Jimmy Falon.
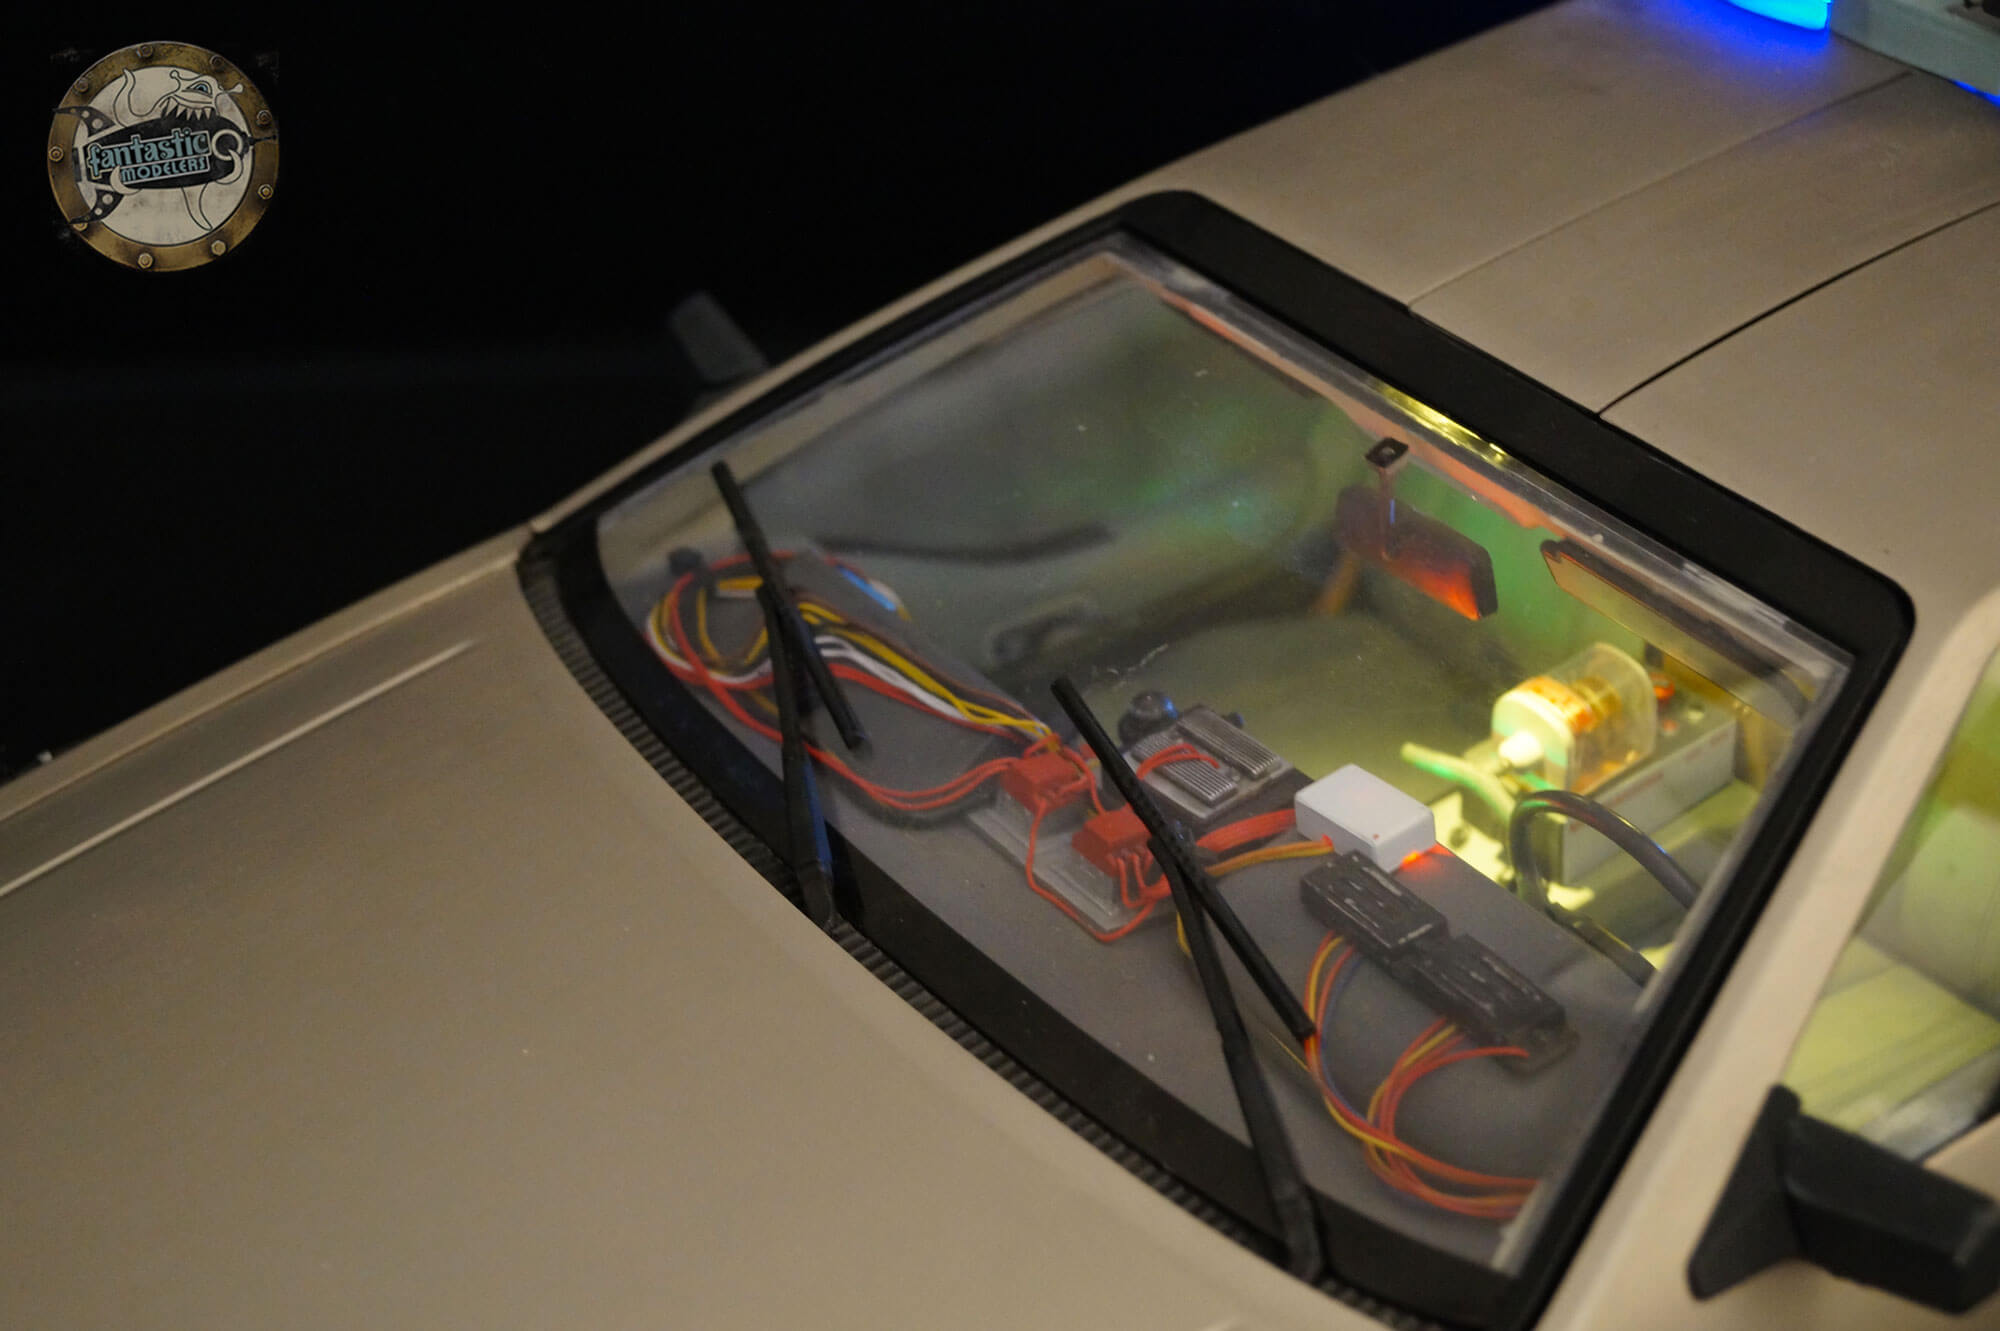
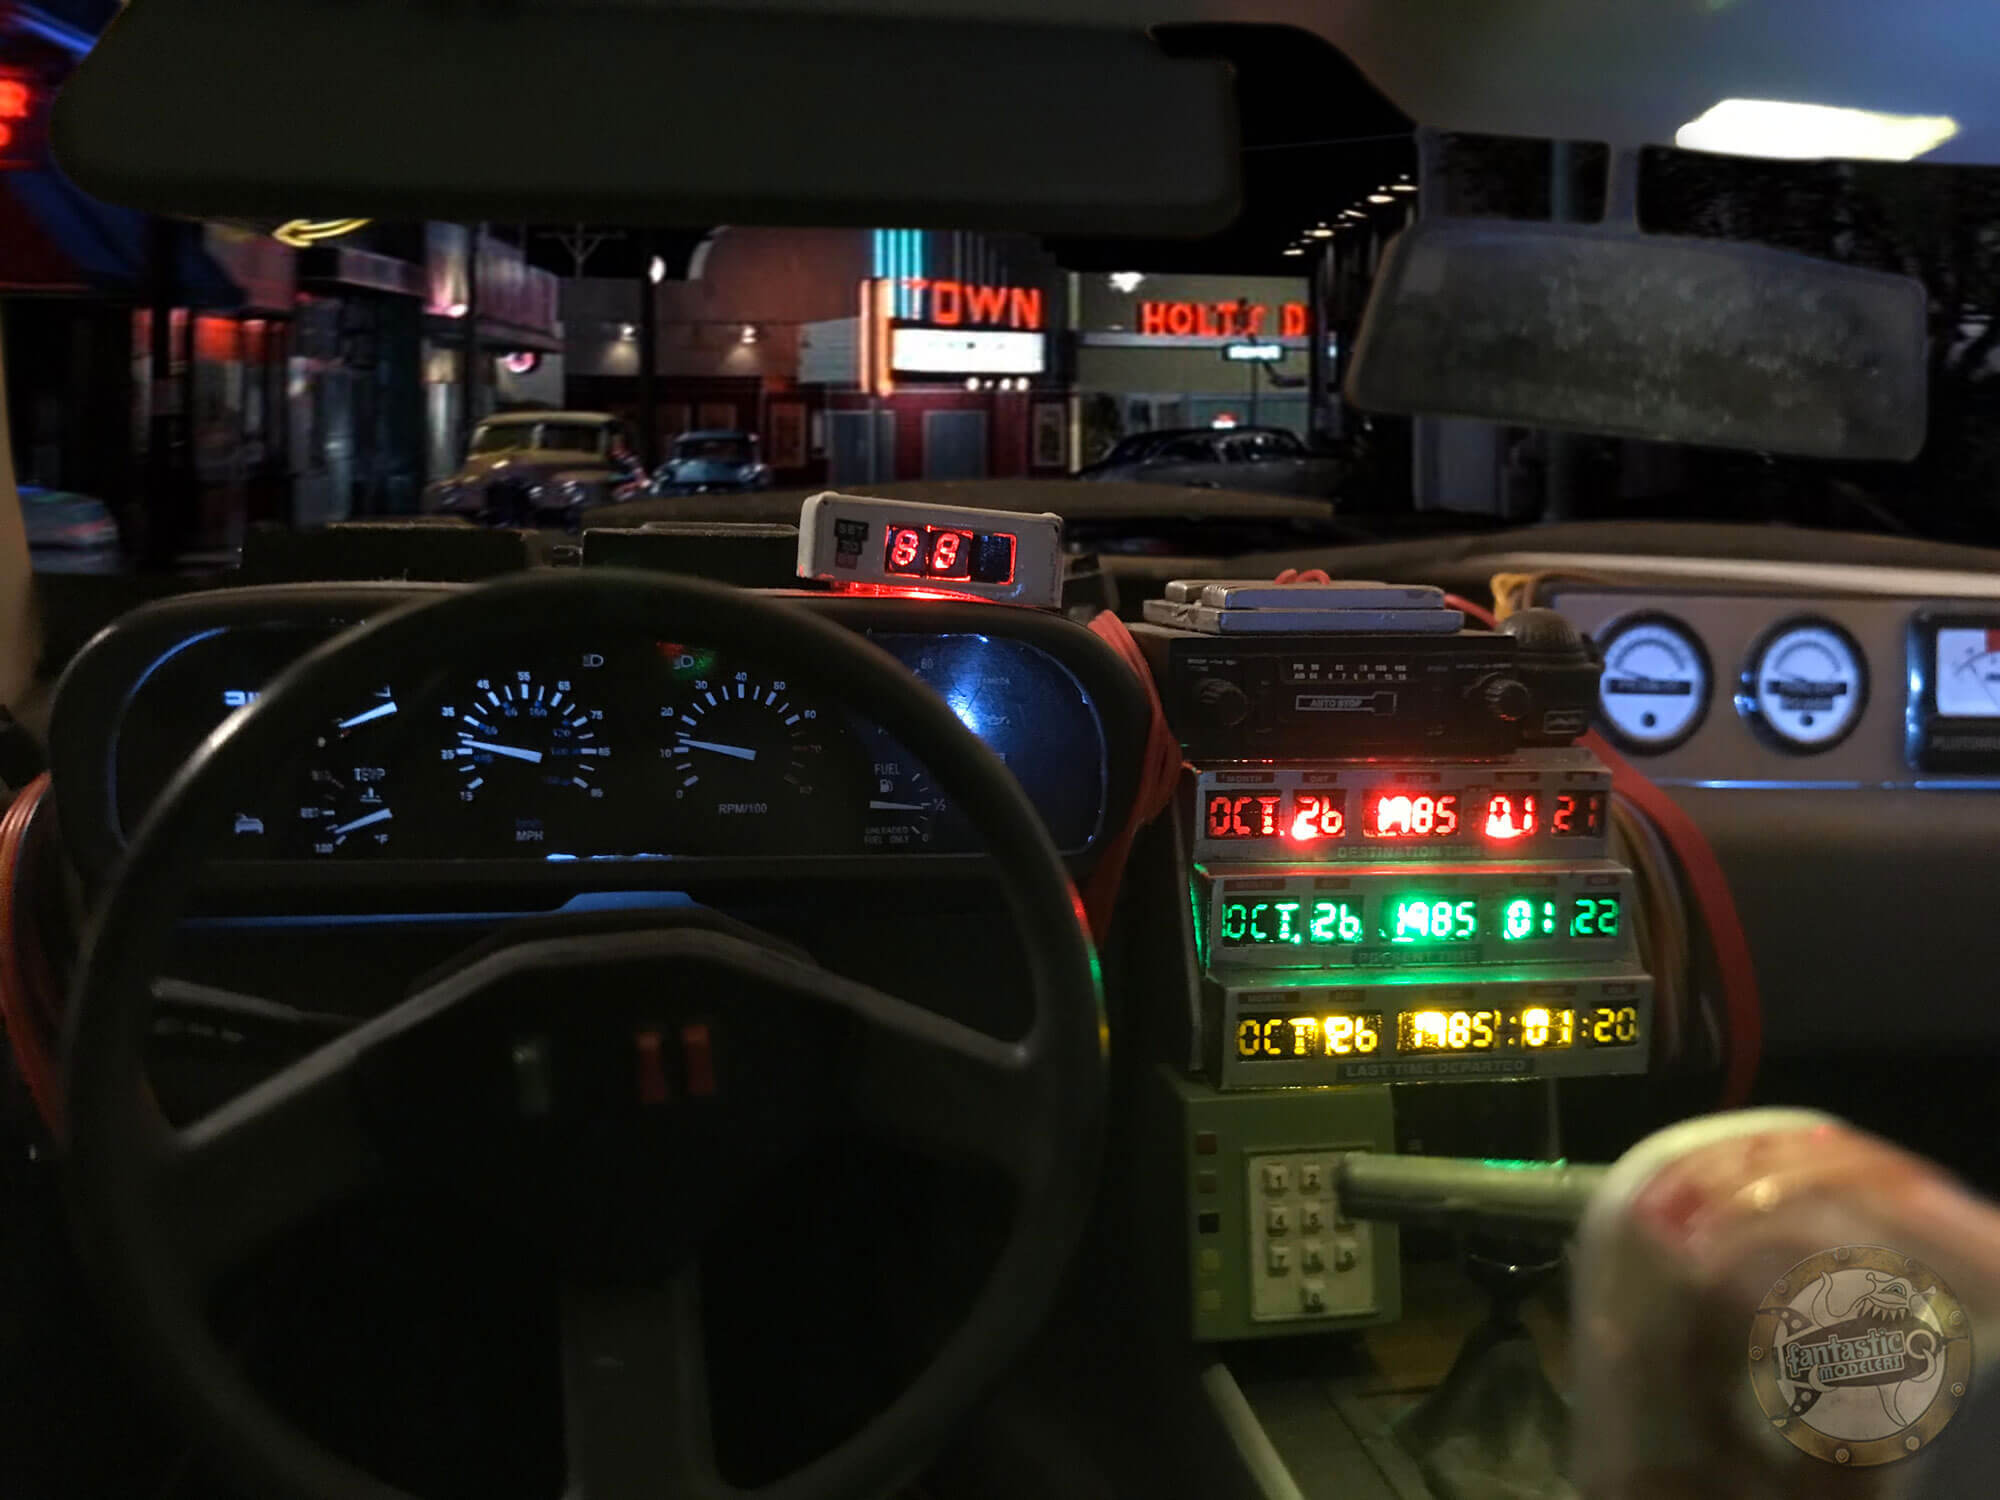
DeLorean Eaglemoss : no glue, only screws !
Creators’ choice : not a single glue spot to be used. The smallest part must be screwed on its stand. The result is very tiny screws but not tiny enough. At this scale, (1:8) a standard screw must be less than 1mm in diameter. So every apparent screws will give a false feeling about the scale. I had to hide them.

The screw masking is done with the sculpting putty Magic Sculpt placed inside the X of each screw. Once polymerized, the putty is silver painted. It gives the impression of a soldered joint r a rivet, more realistic at this scale. On the picture, you can see the result for the bindings of the metalic grids that protect the temporal flux emitters on each side of the car.
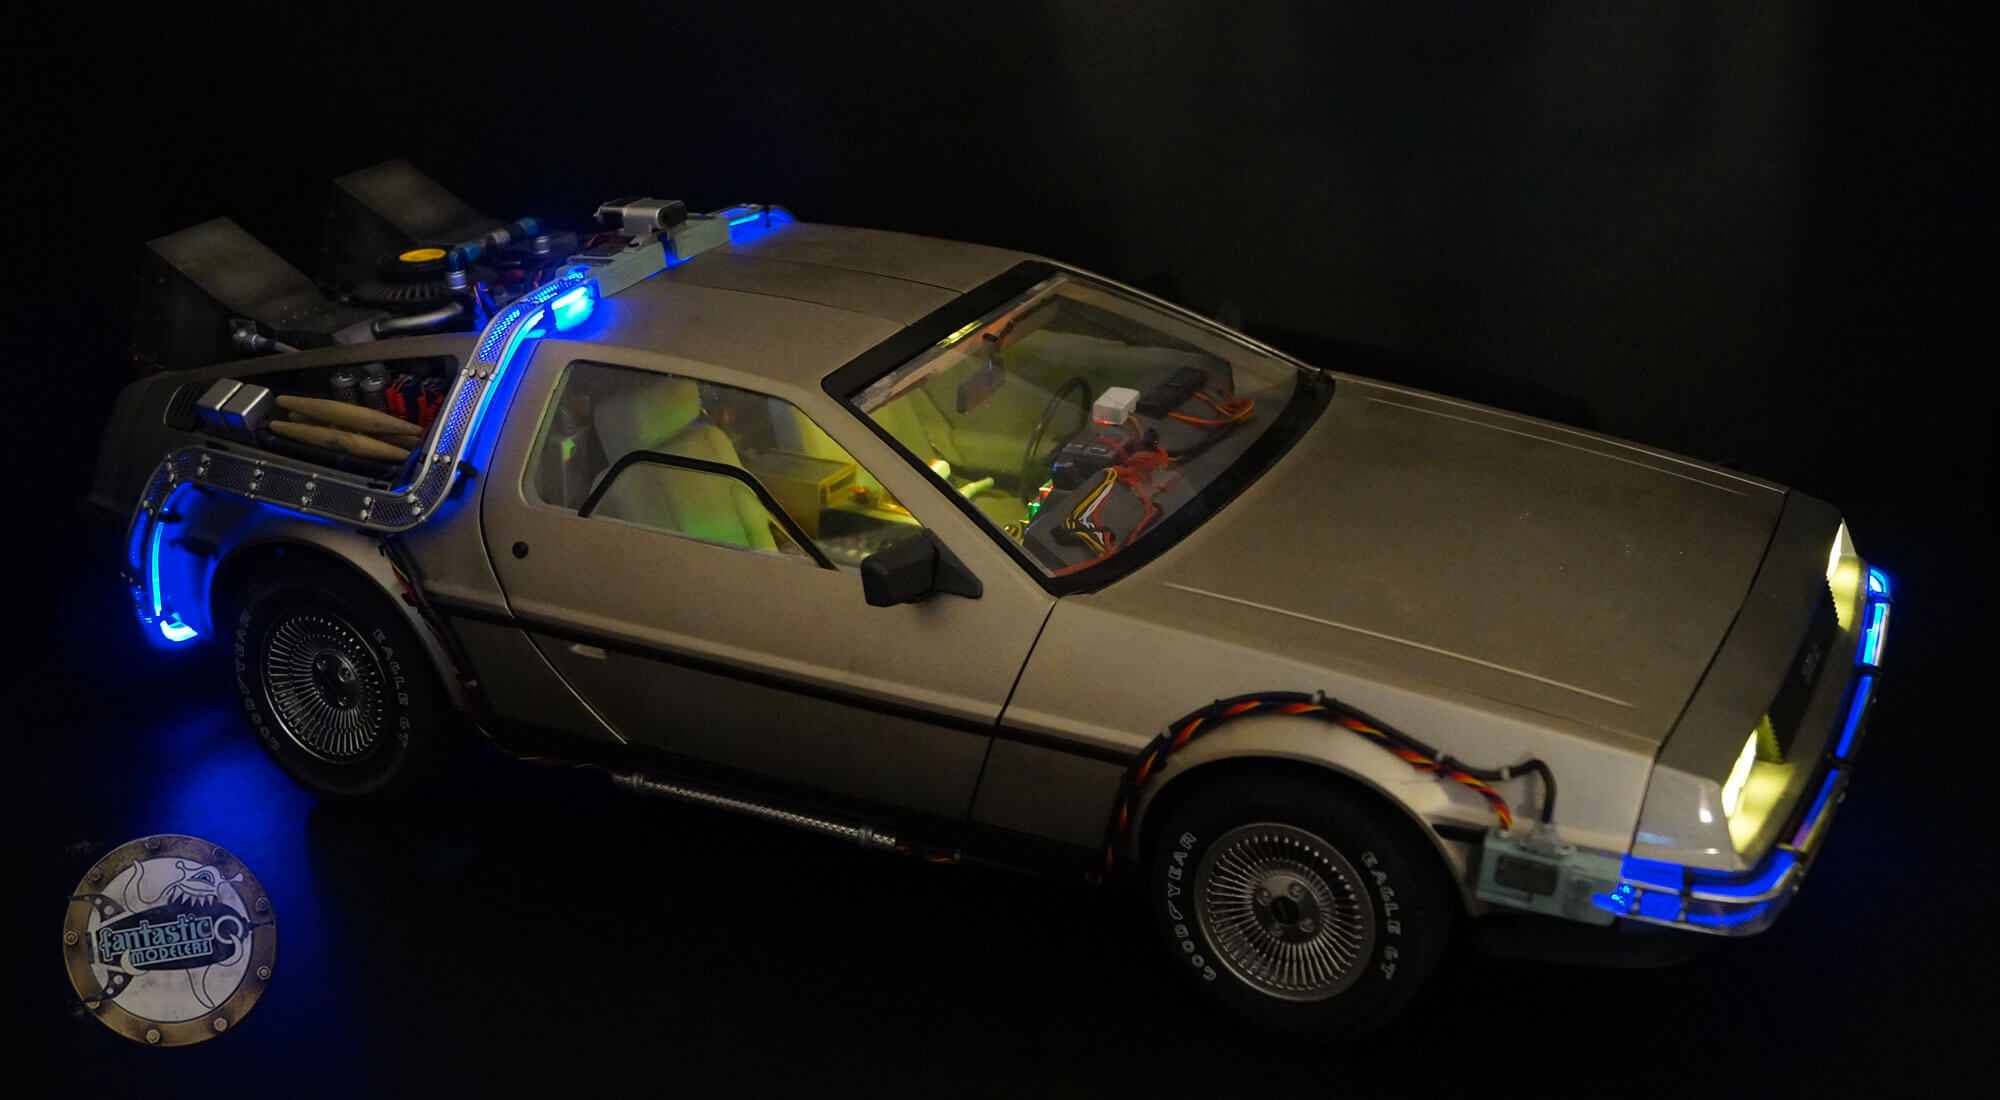
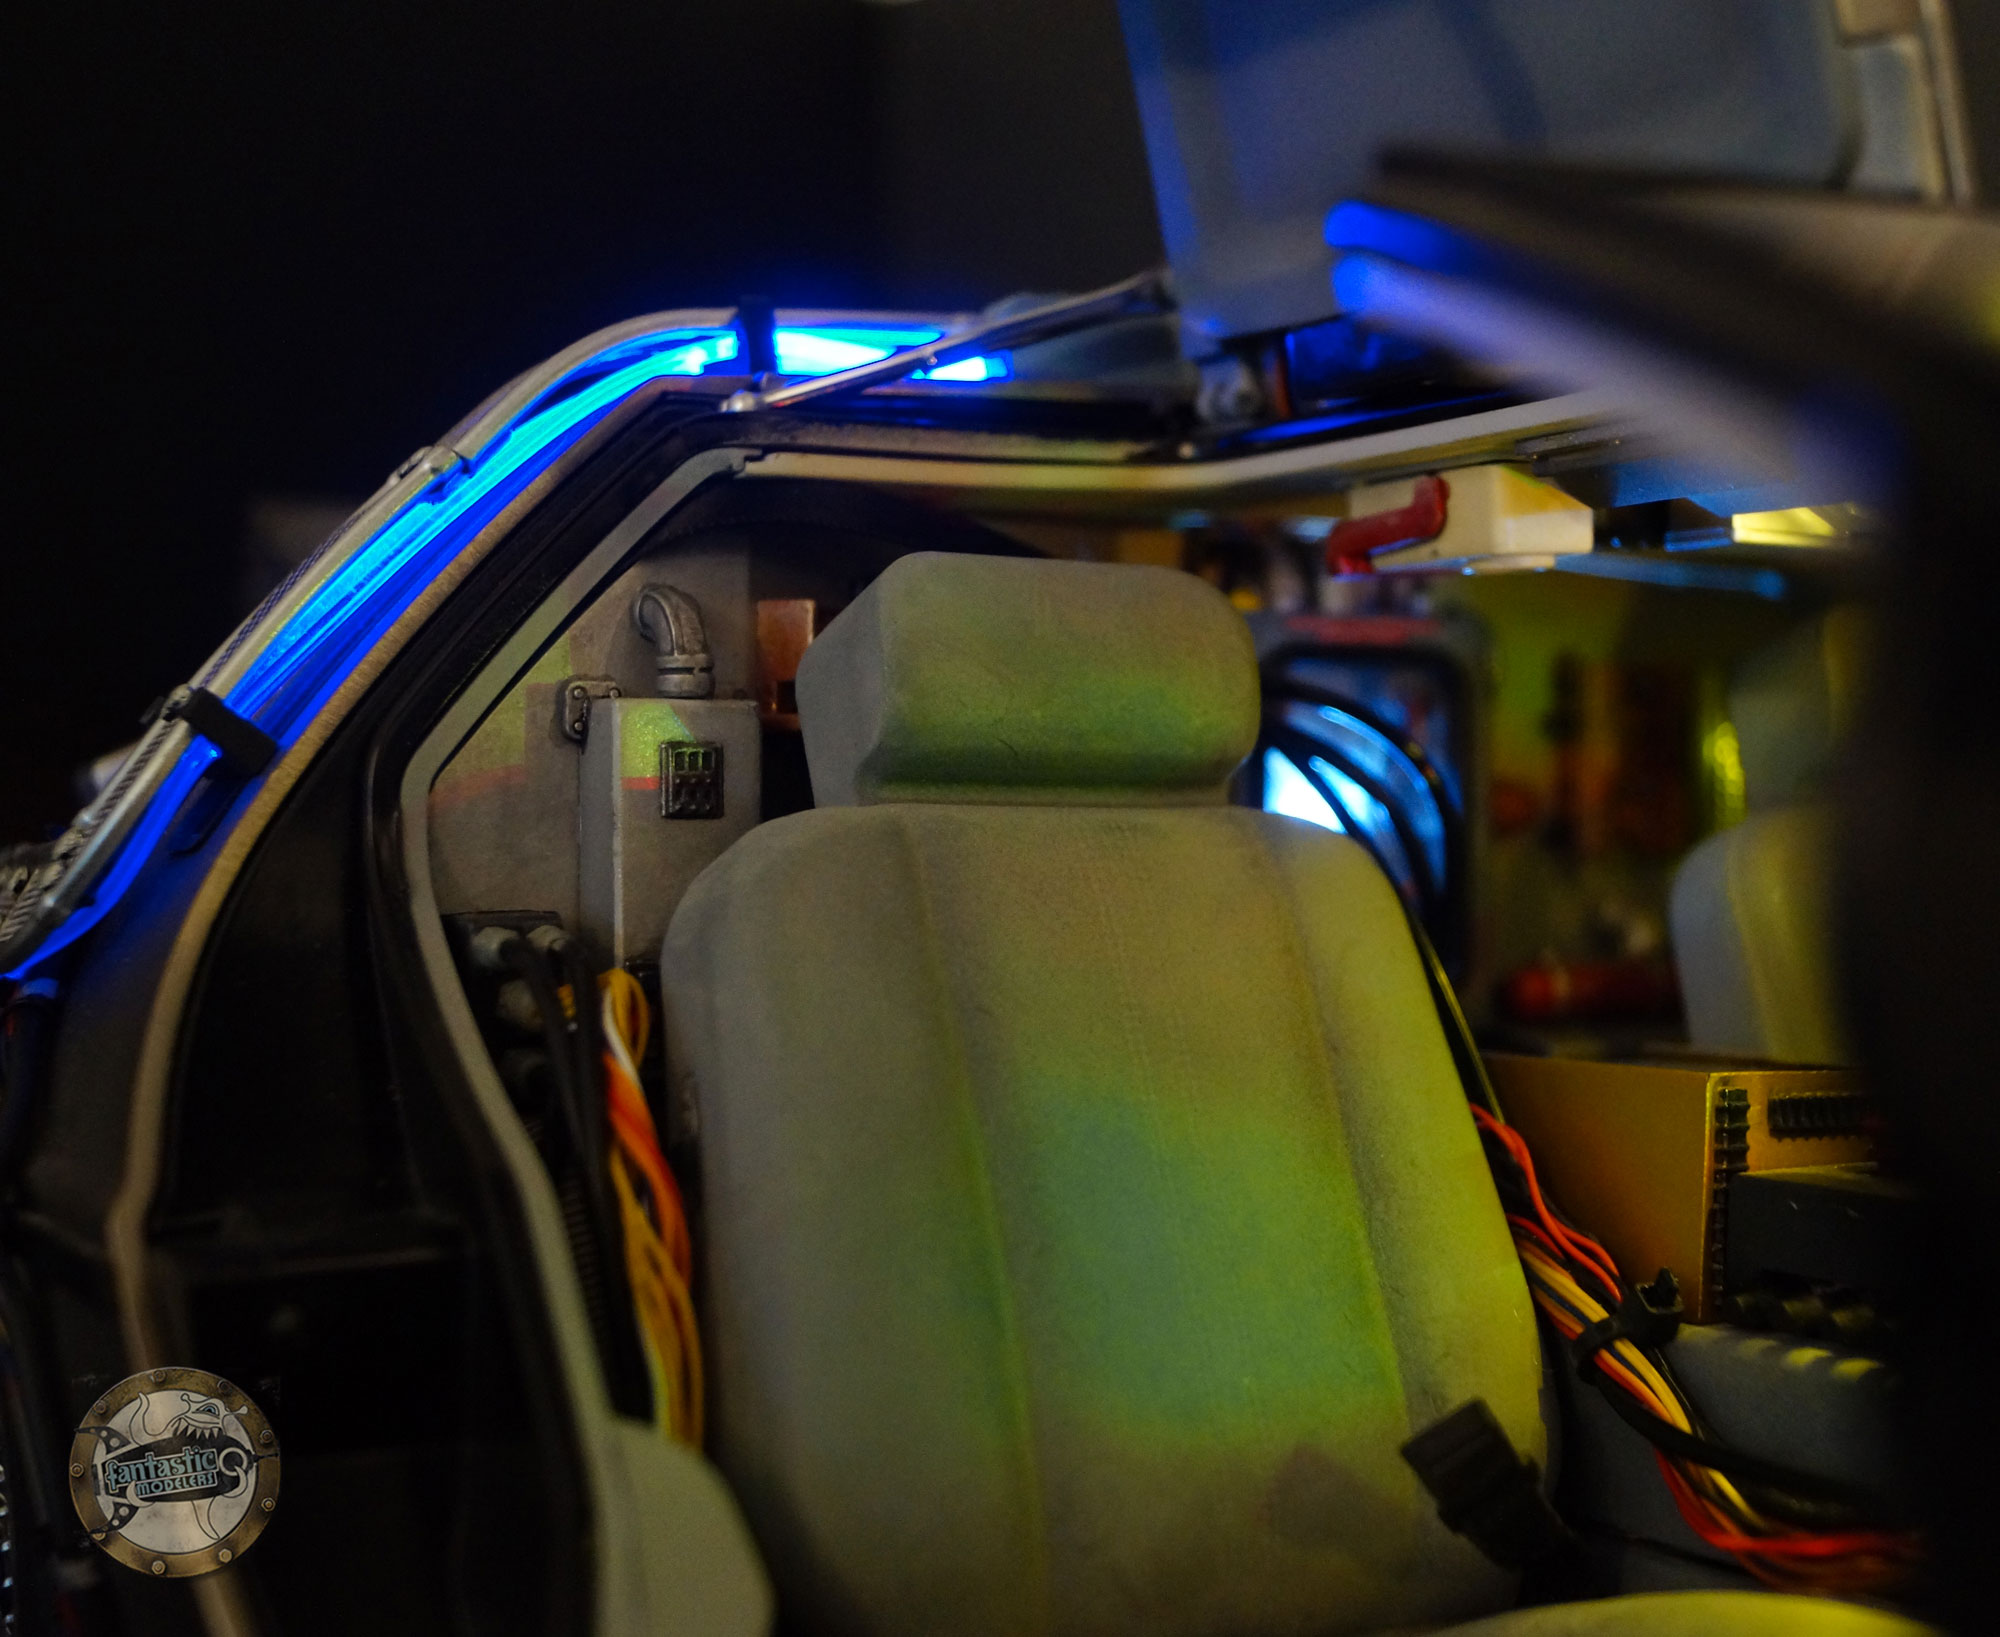
Every time I could, I replaced the screws by a glue point. It is the case for the tiniest elements of the passenger compartment. I used epoxy resin or cyano glue.
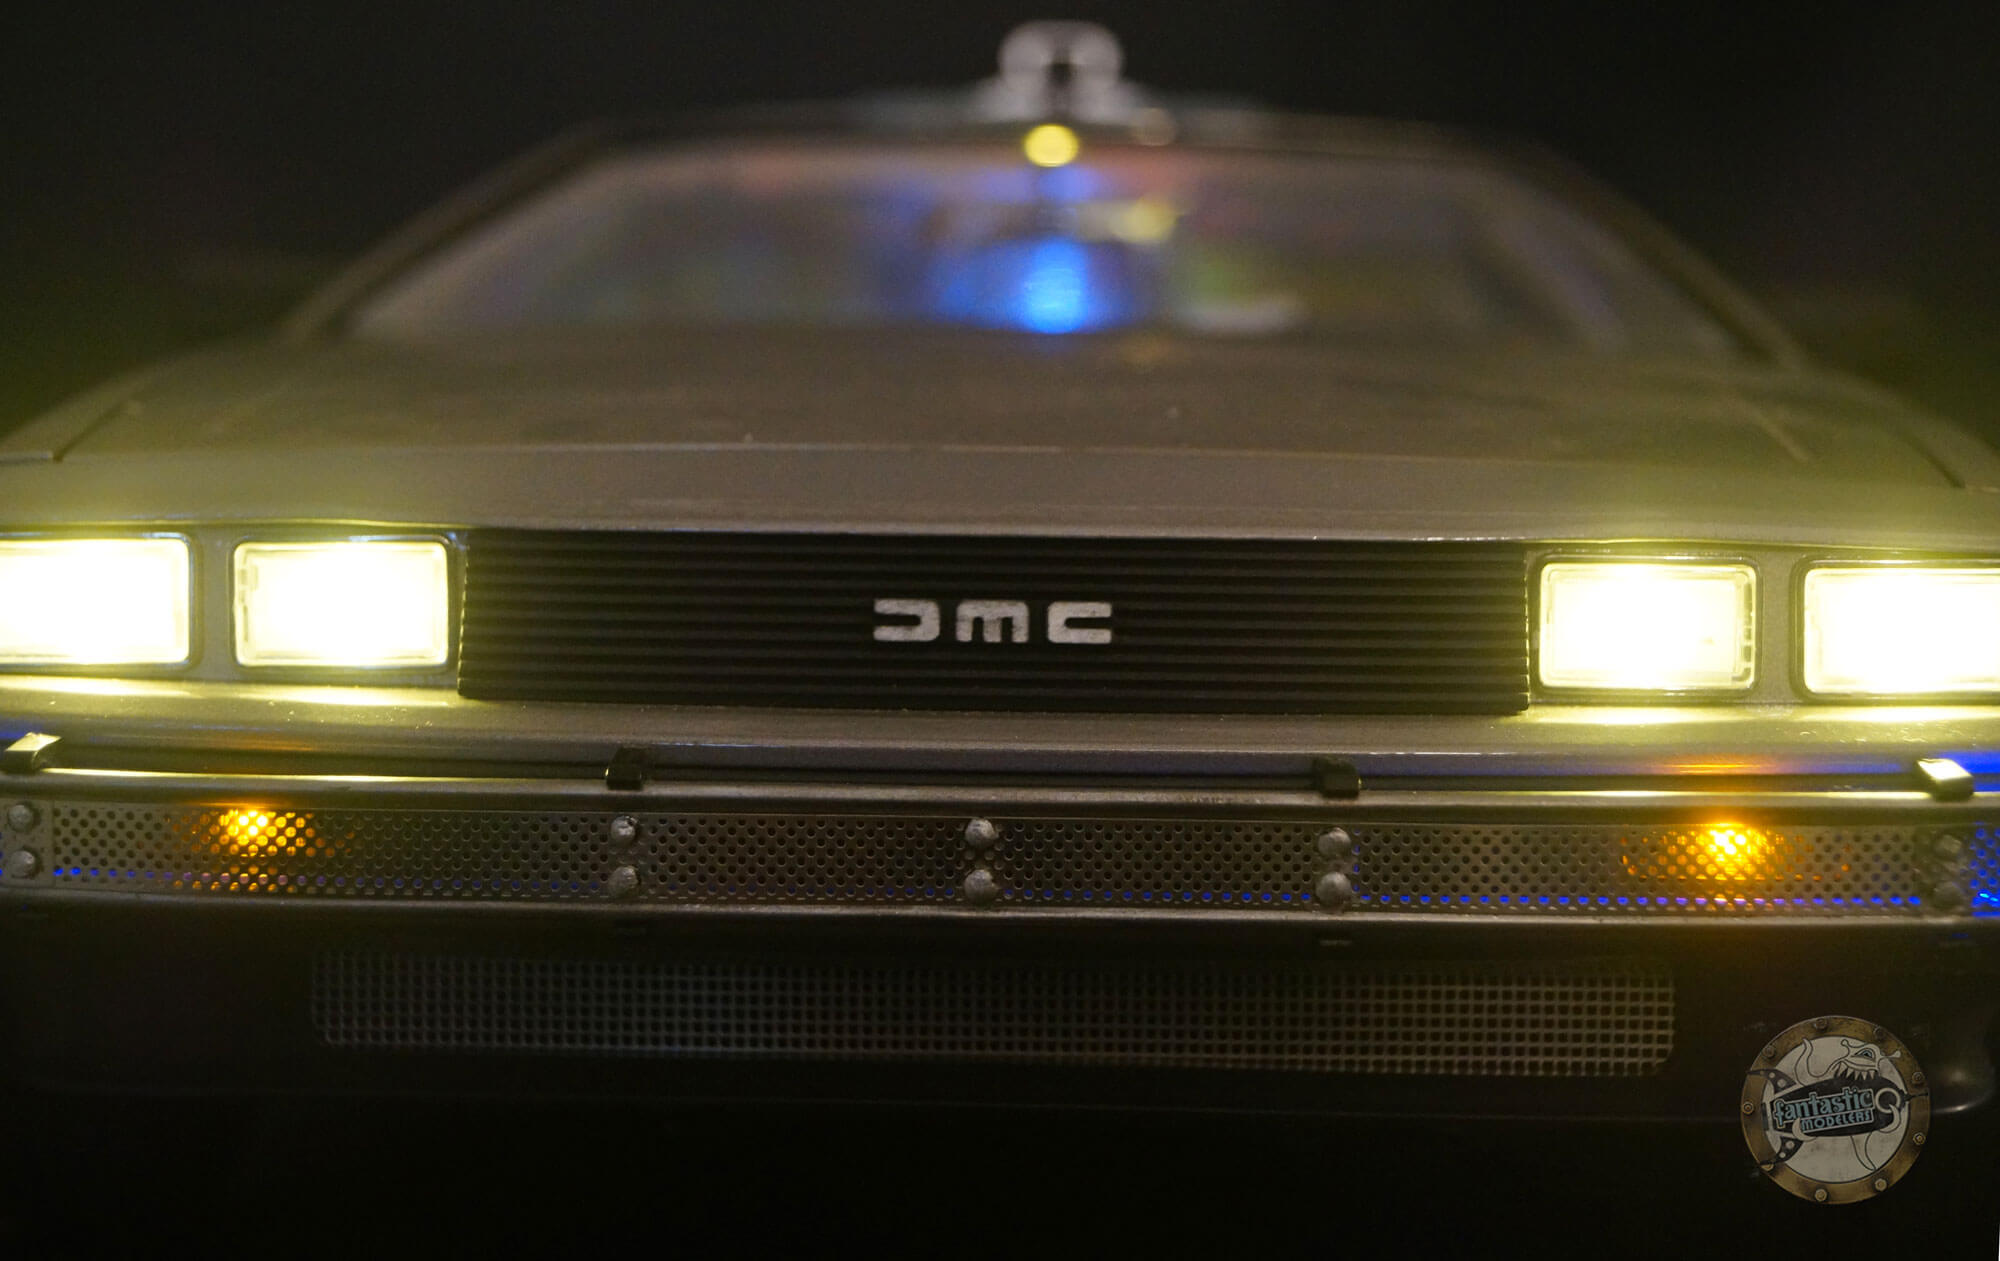
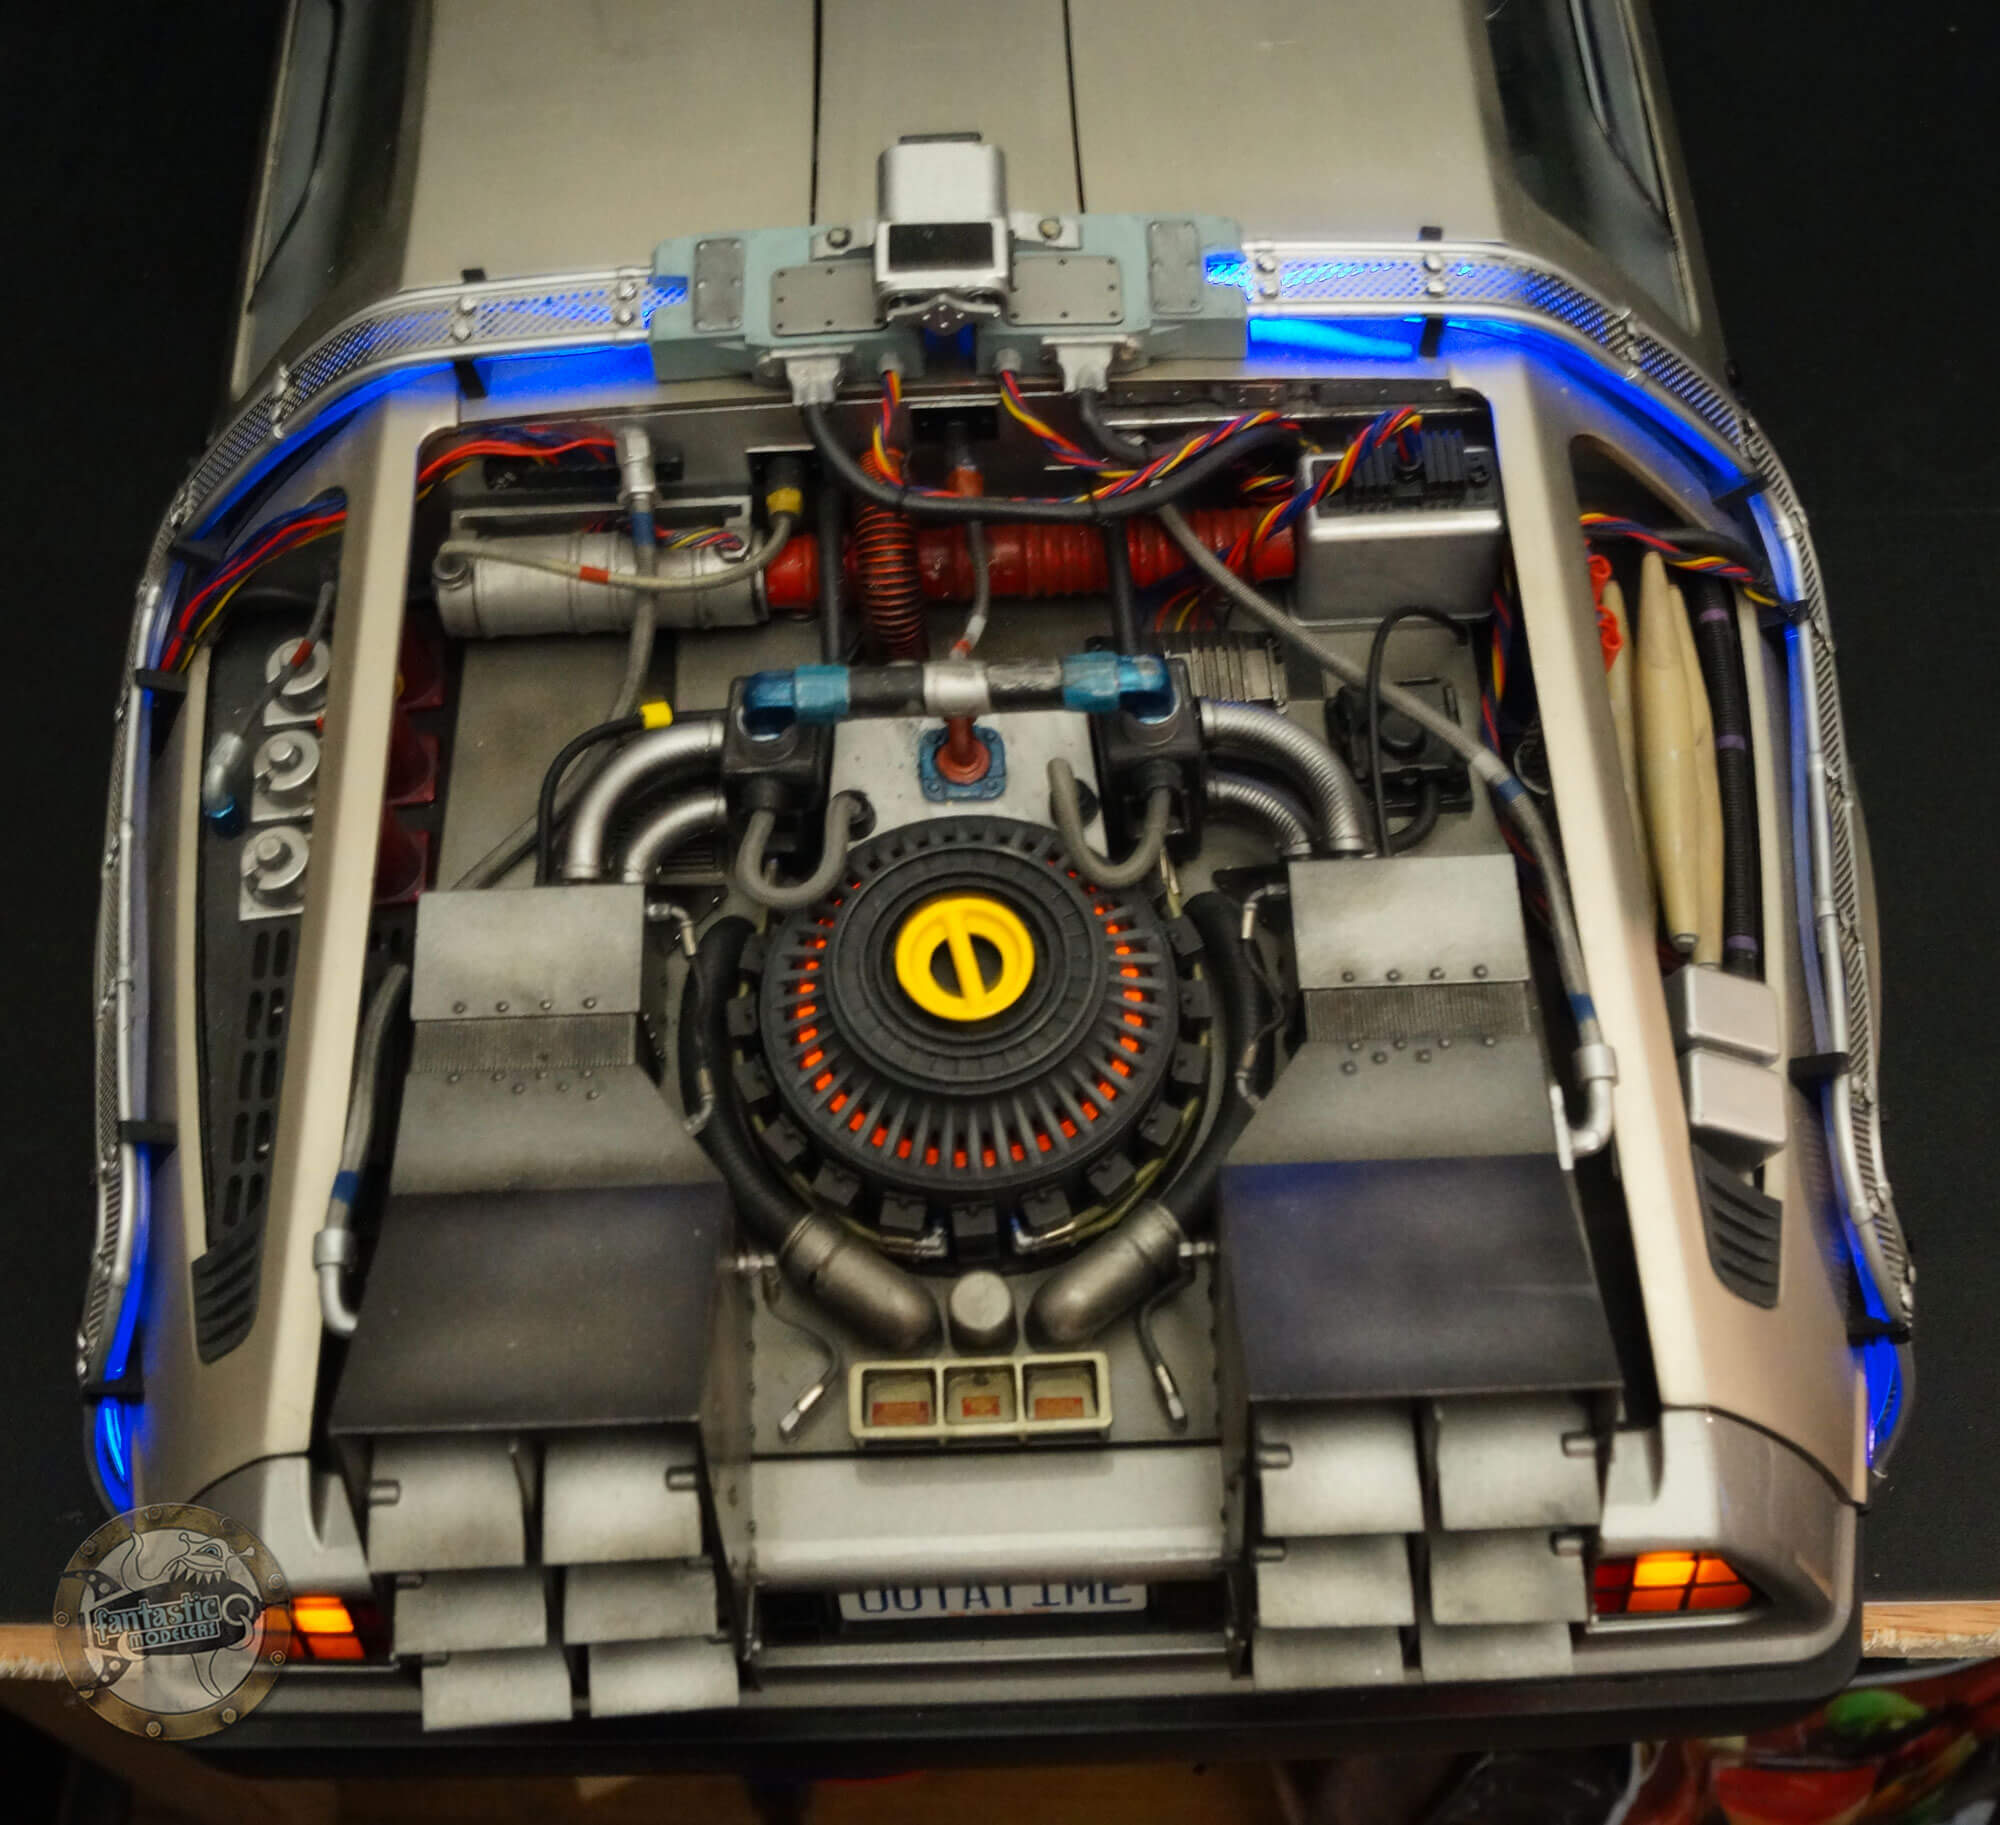
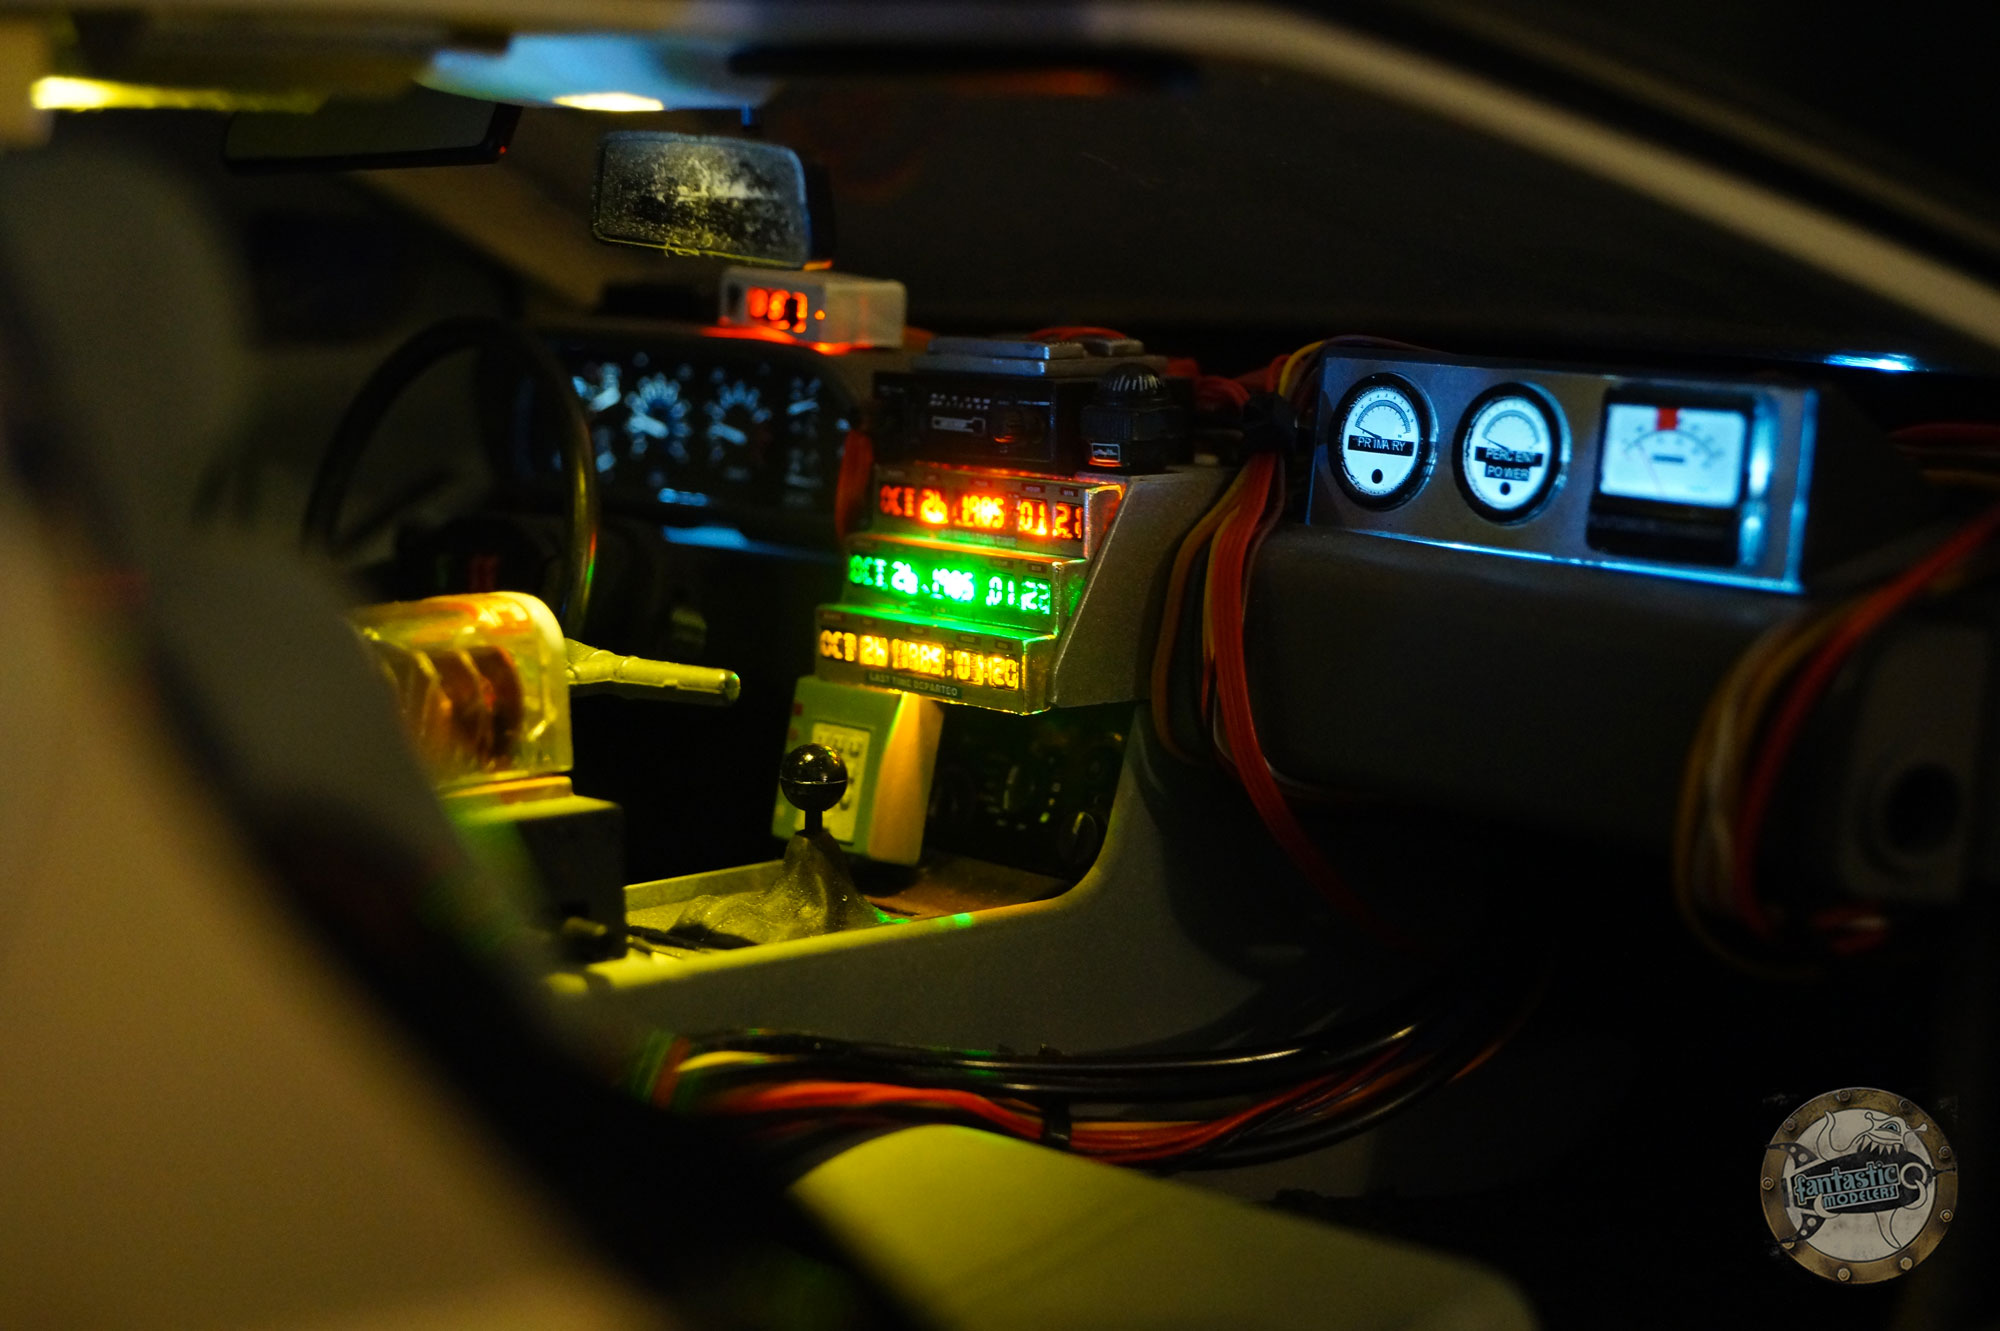
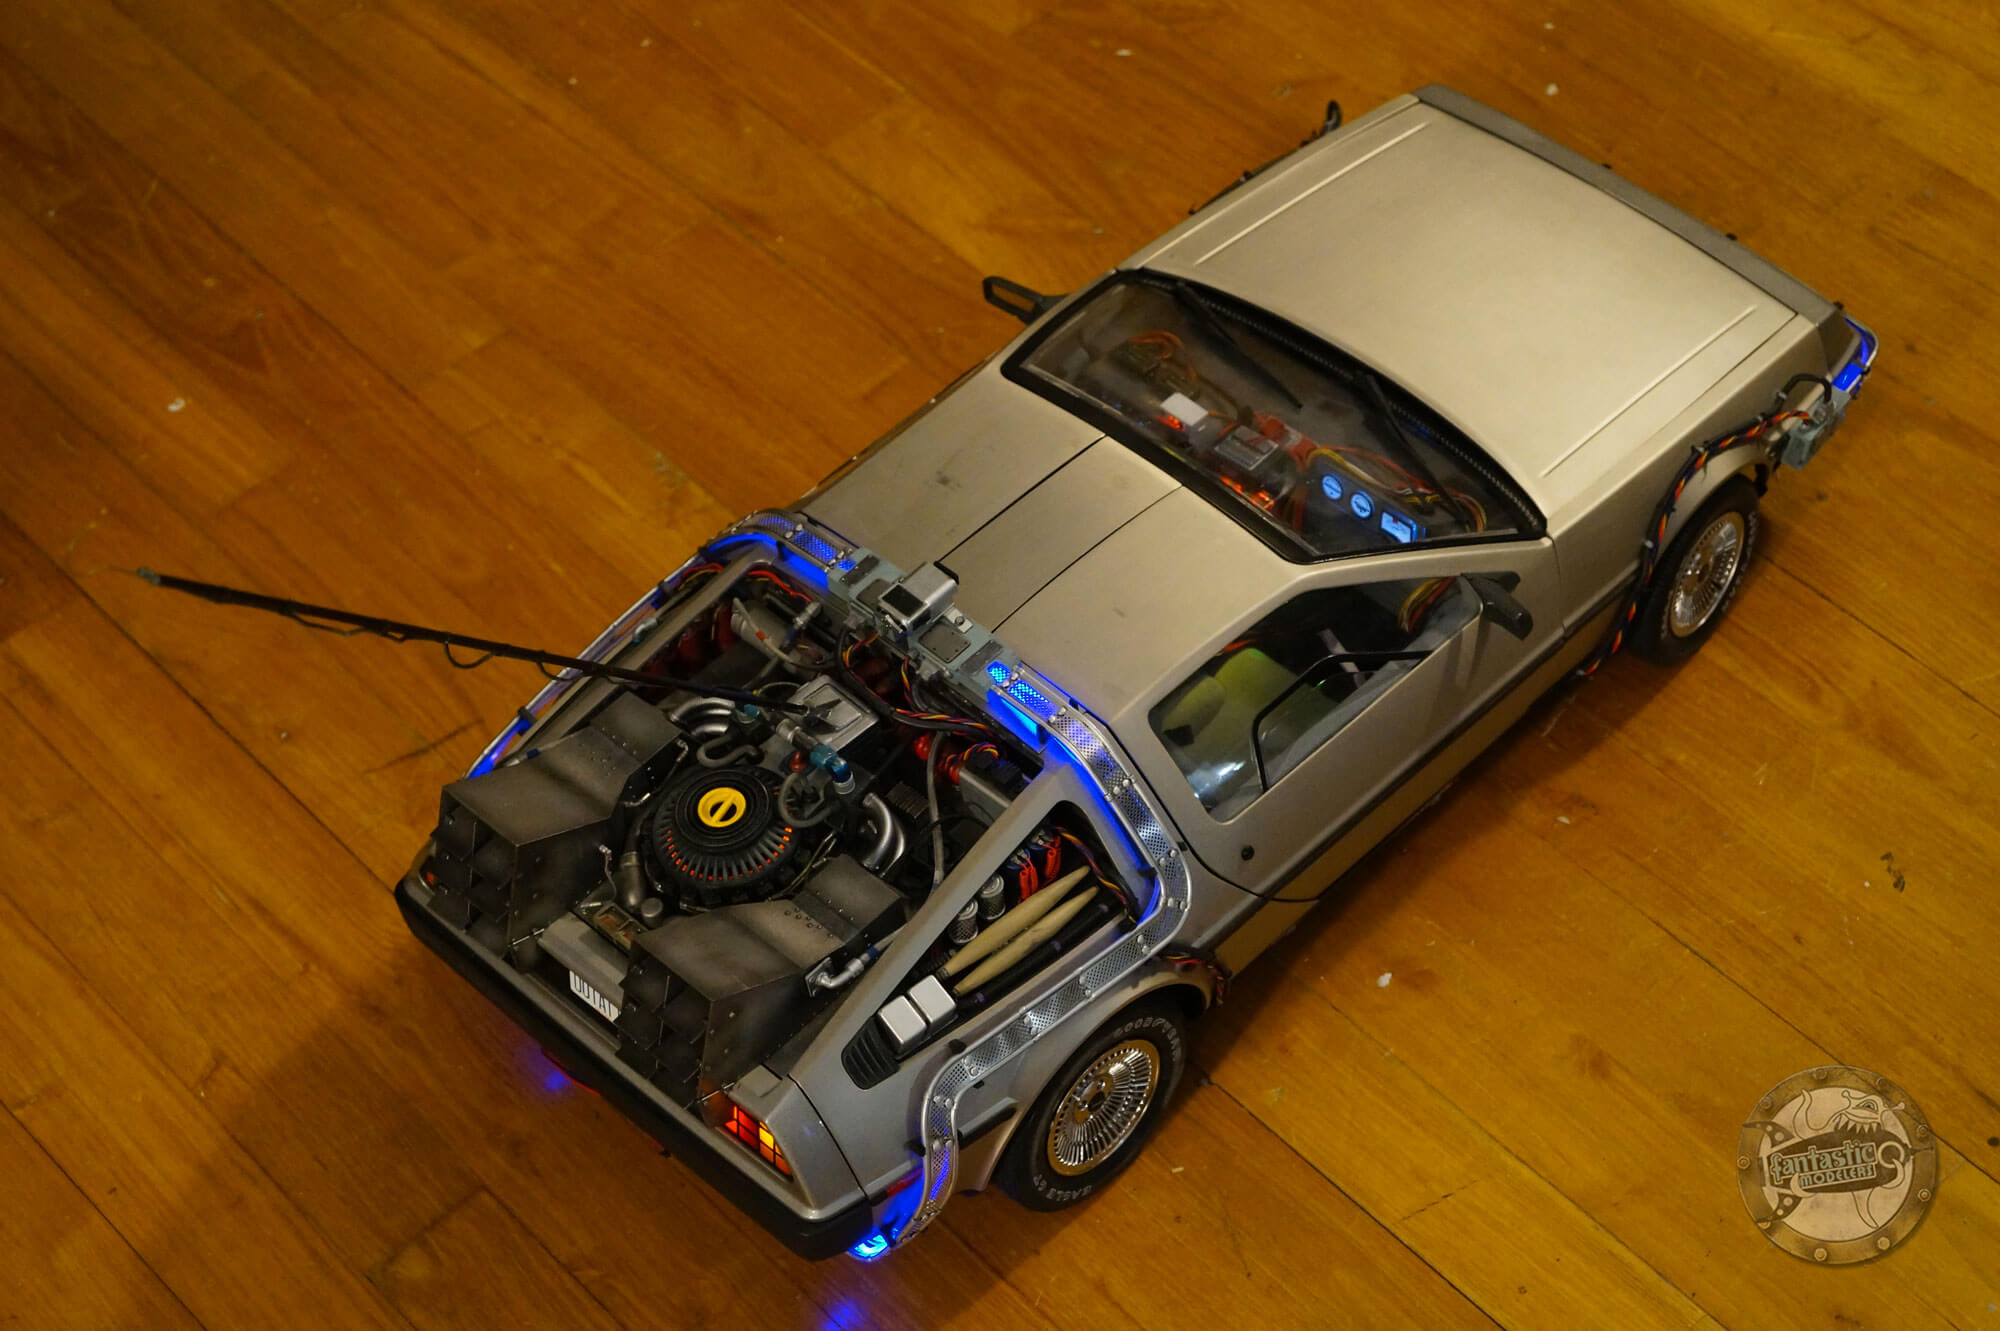
A little paint job
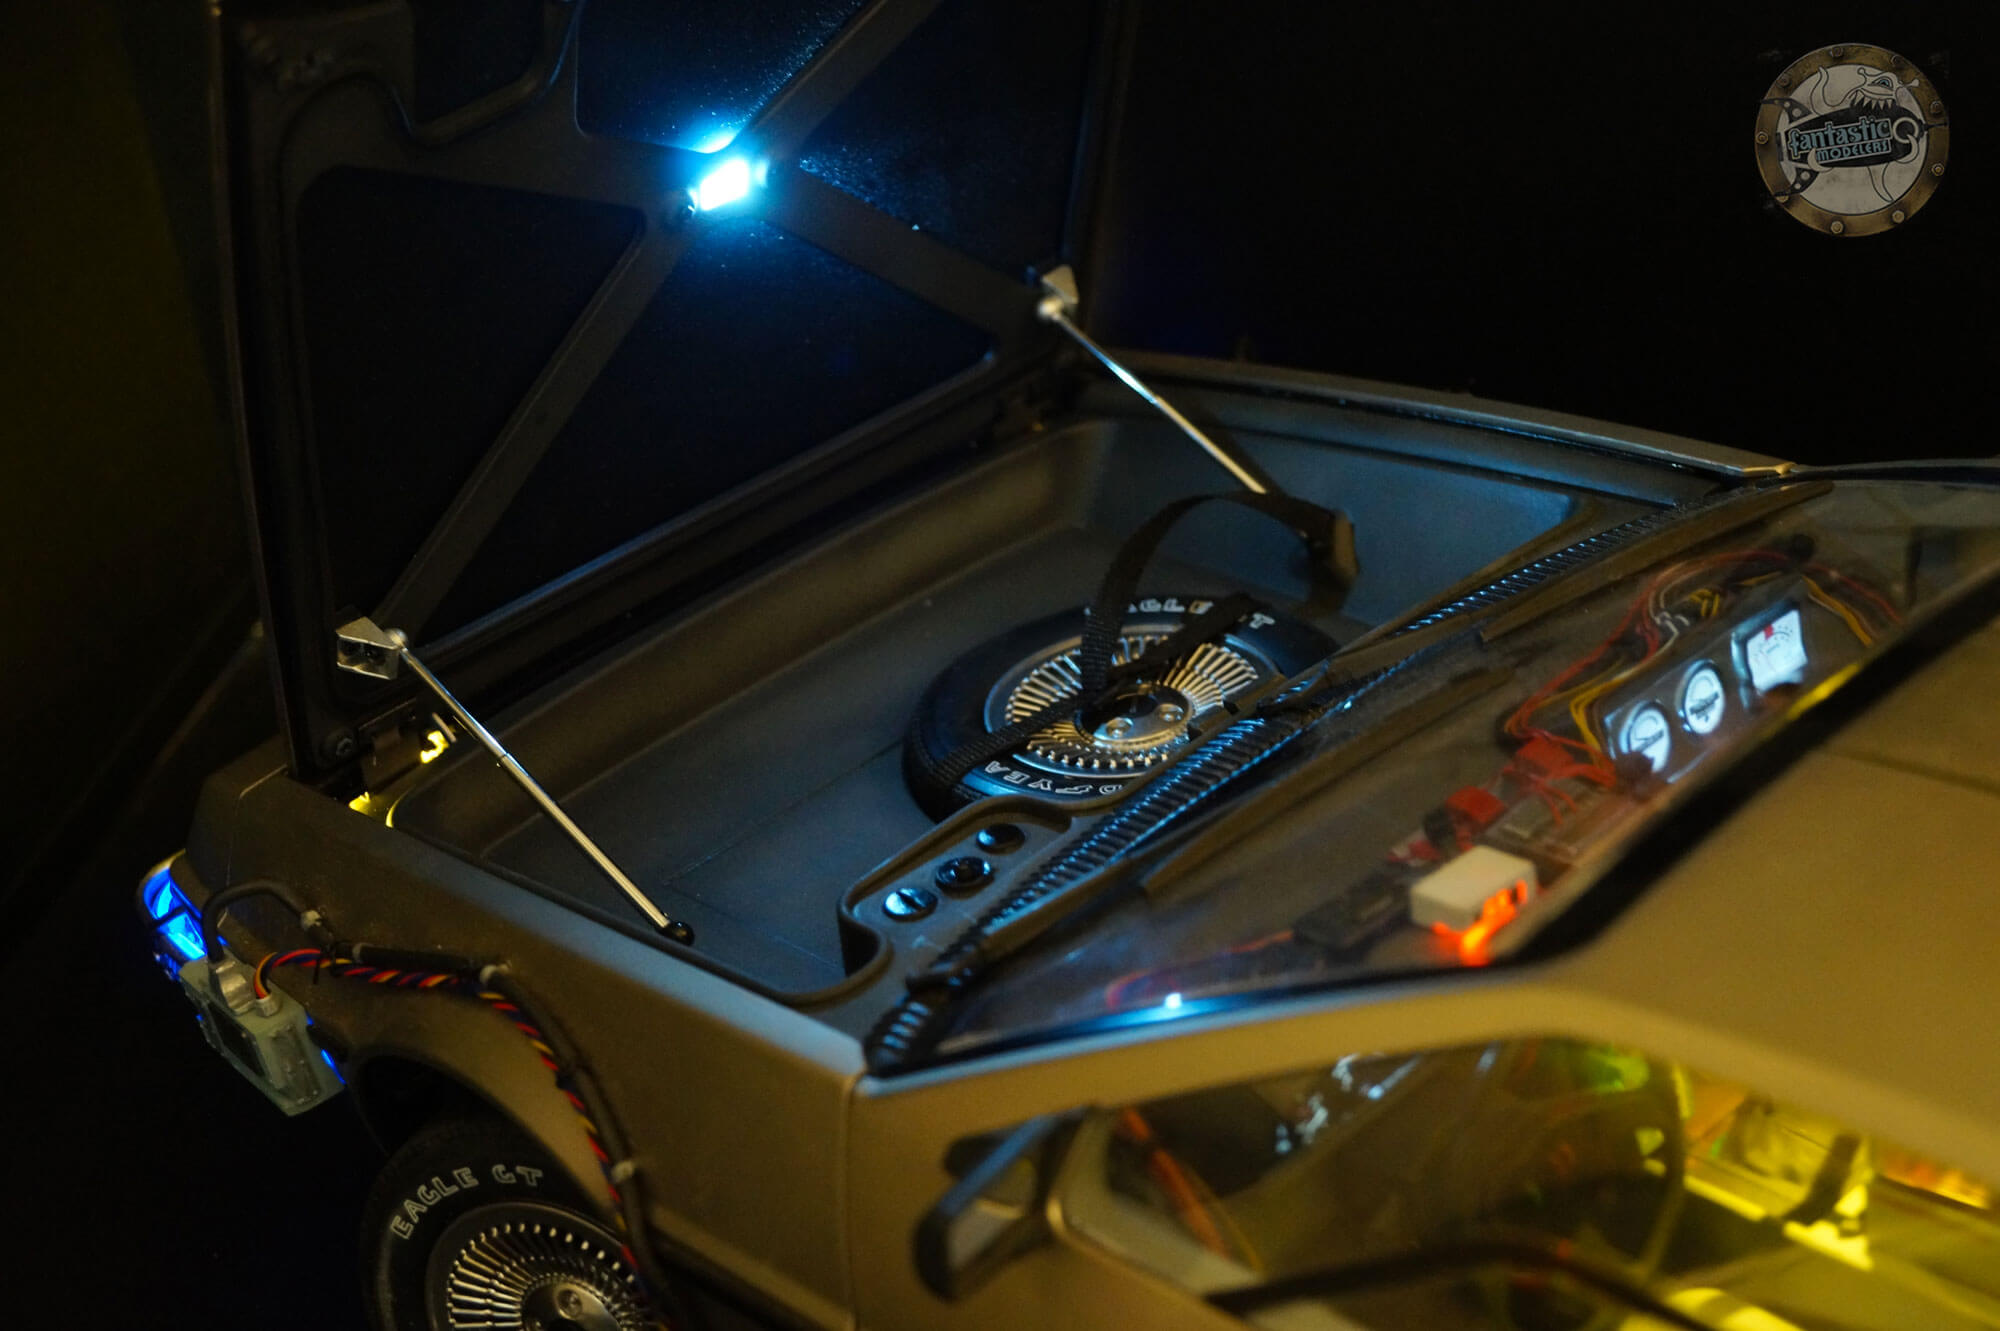
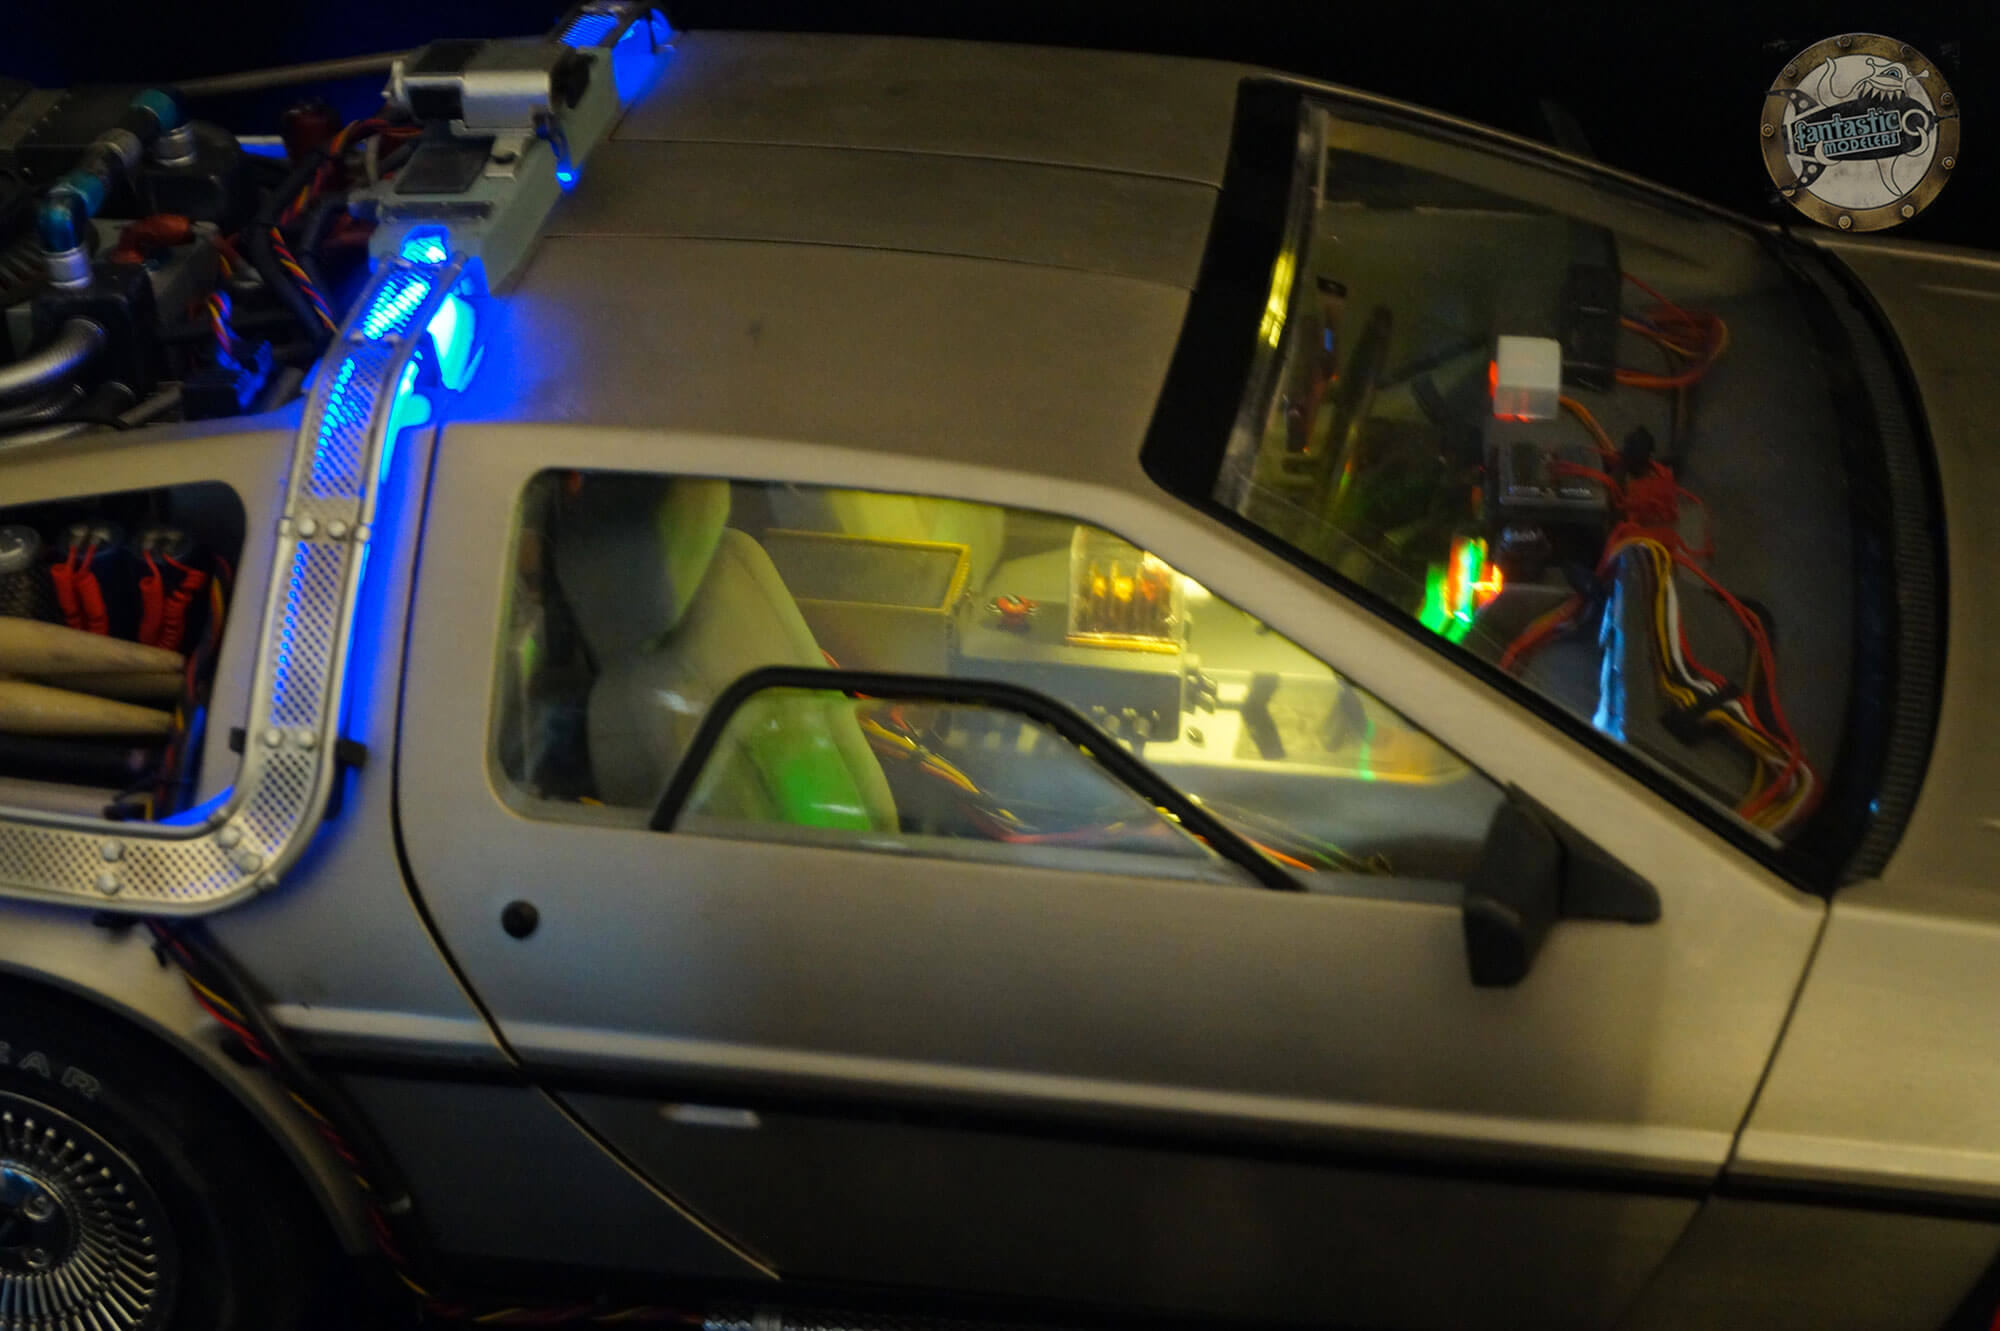
The parts provided in the kit during almost three years are really good stuff. They are pre-painted and there theorically nothing to do at this level. Pratically, I had to file the parting lines on the plastic parts. Consequently, I had to re-paint most of them.
I added a weathering on some parts. Doc Brown used salvage parts to improve his DeLorean, it is logical that they seem to have had hard times. On the picture below, you can see a rear vent after weathering :

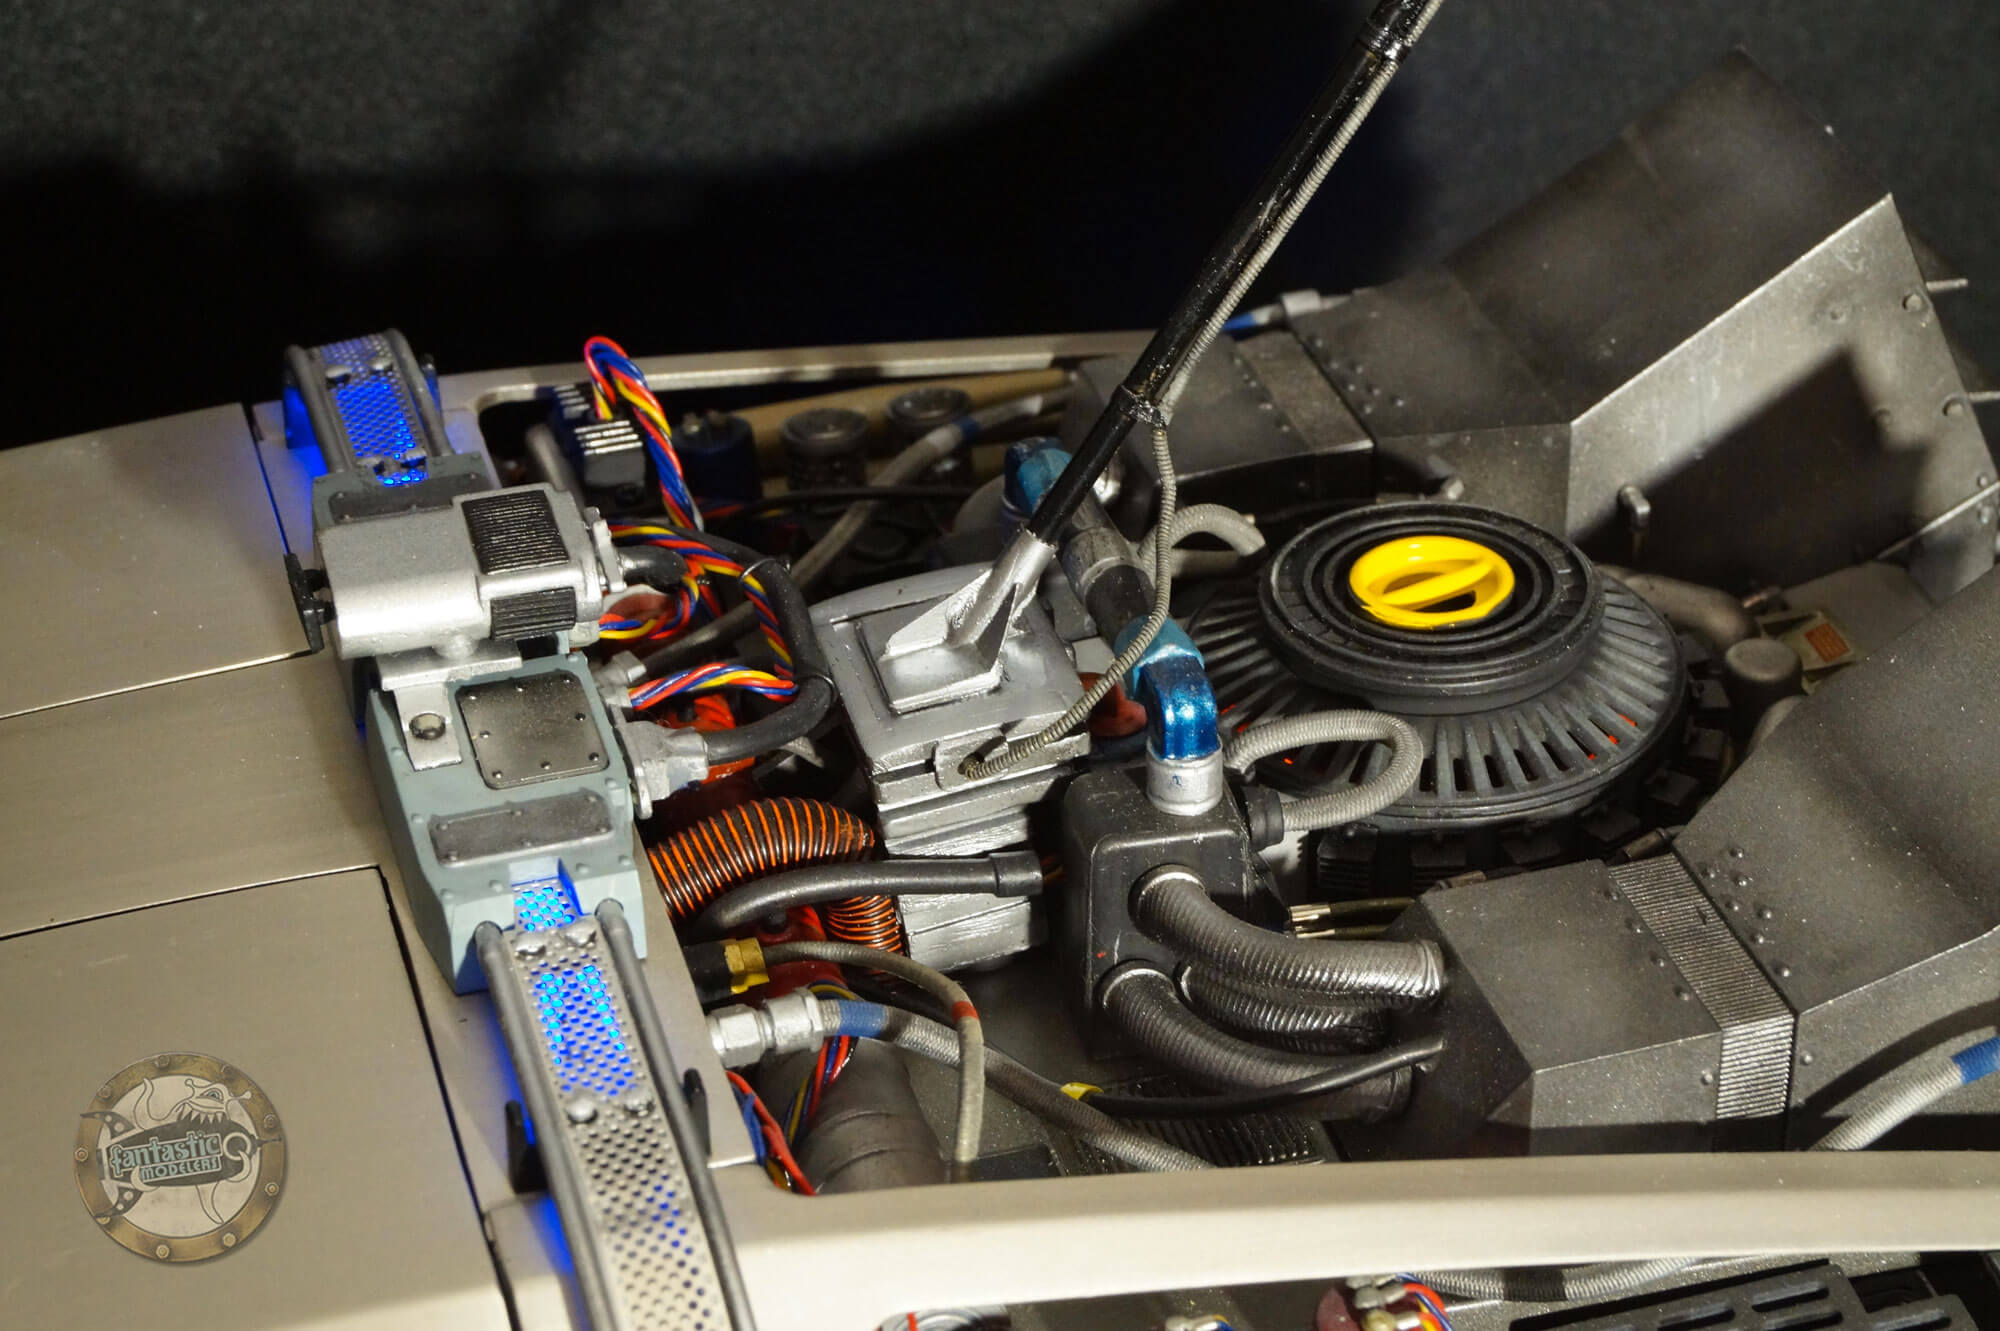
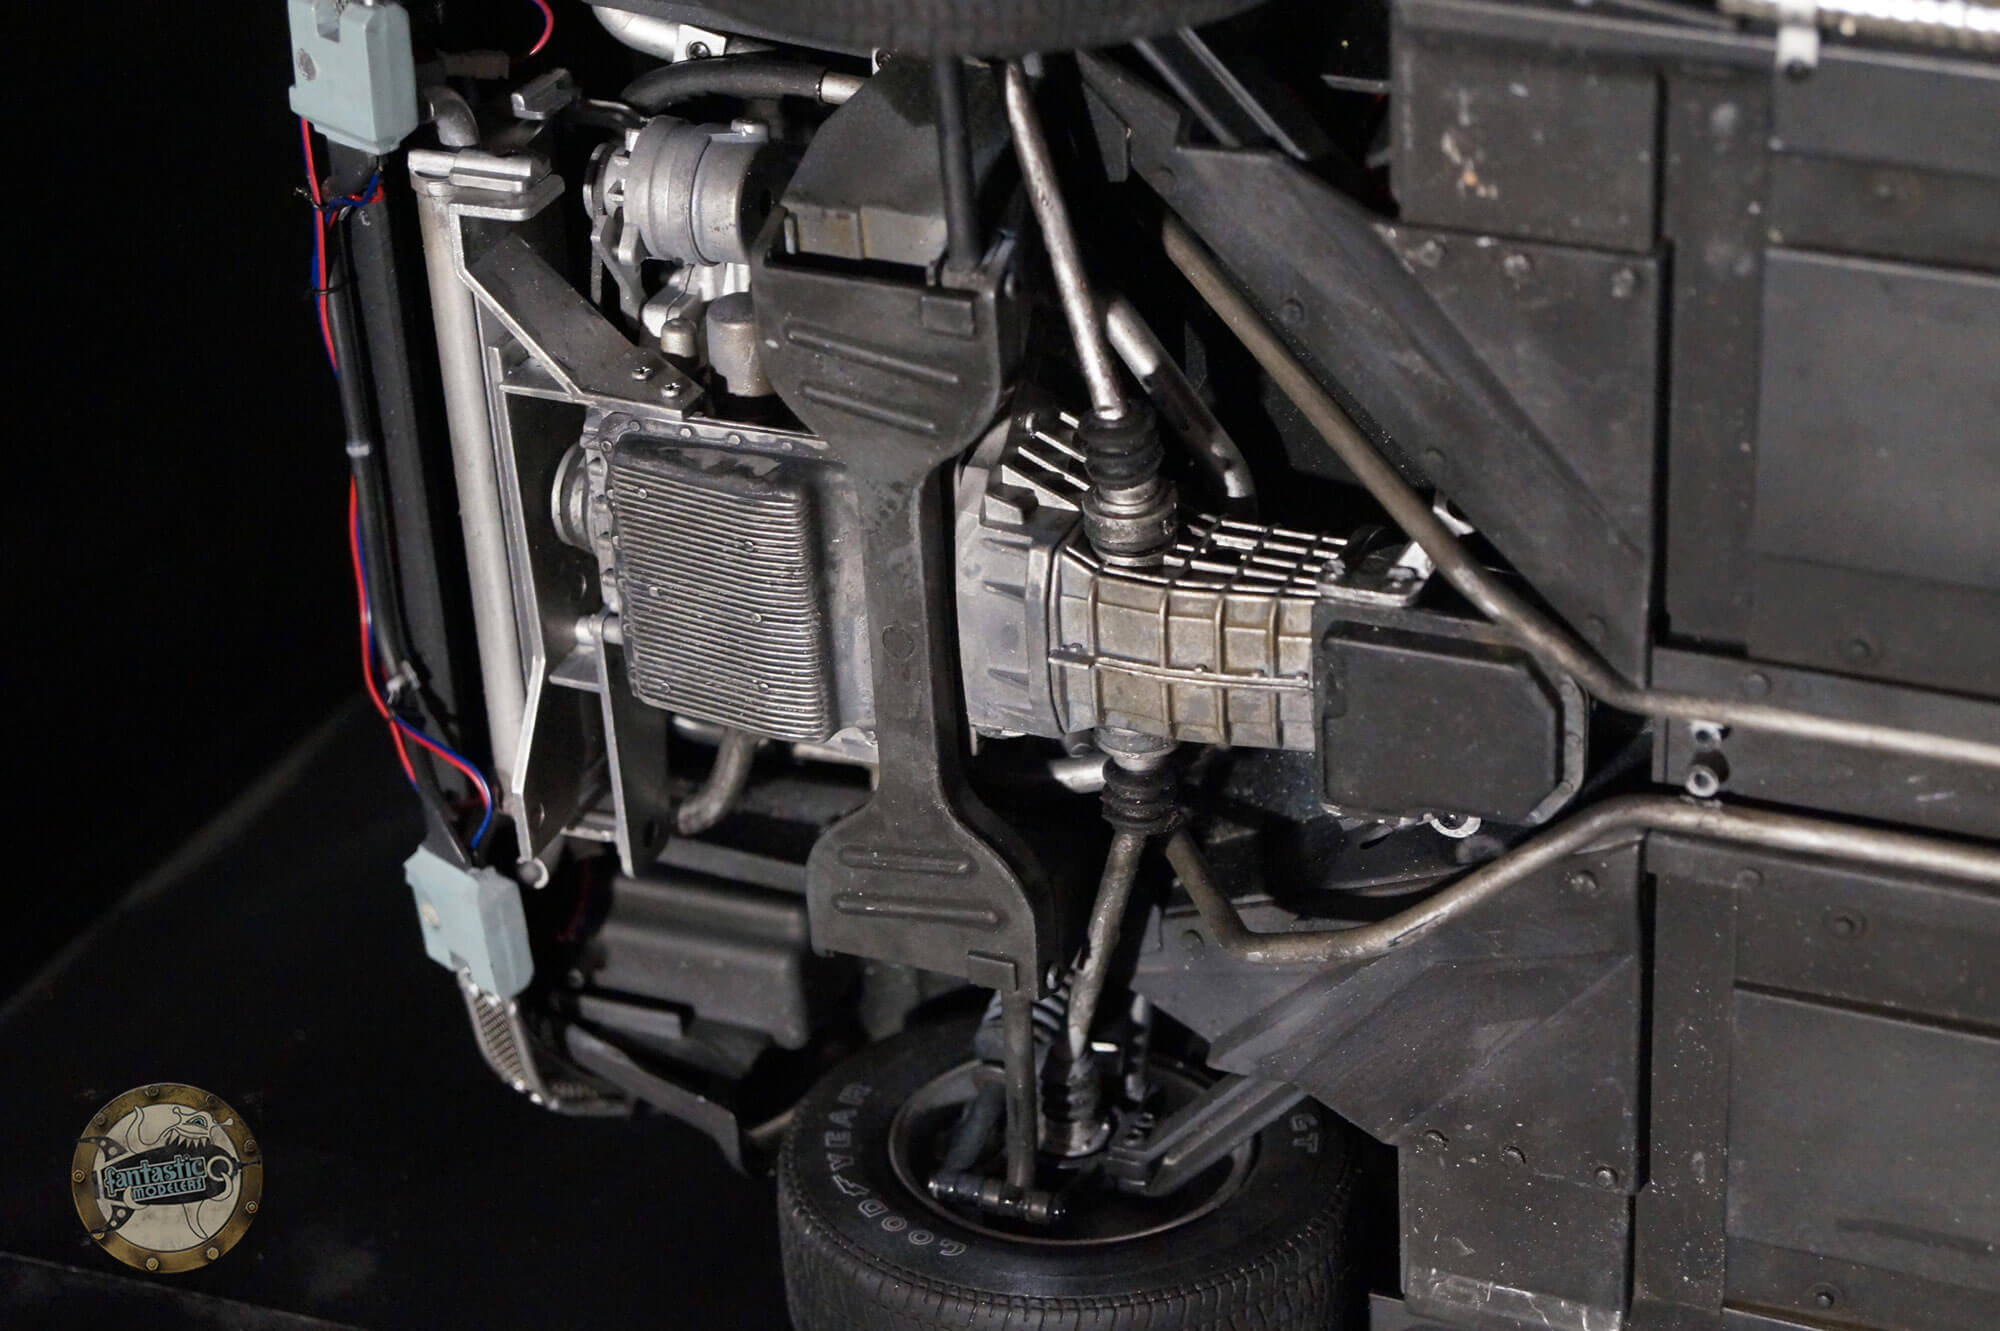
The underbody and the engine have also been strongly weathered. Many oil painting washes : black, brown, grey…

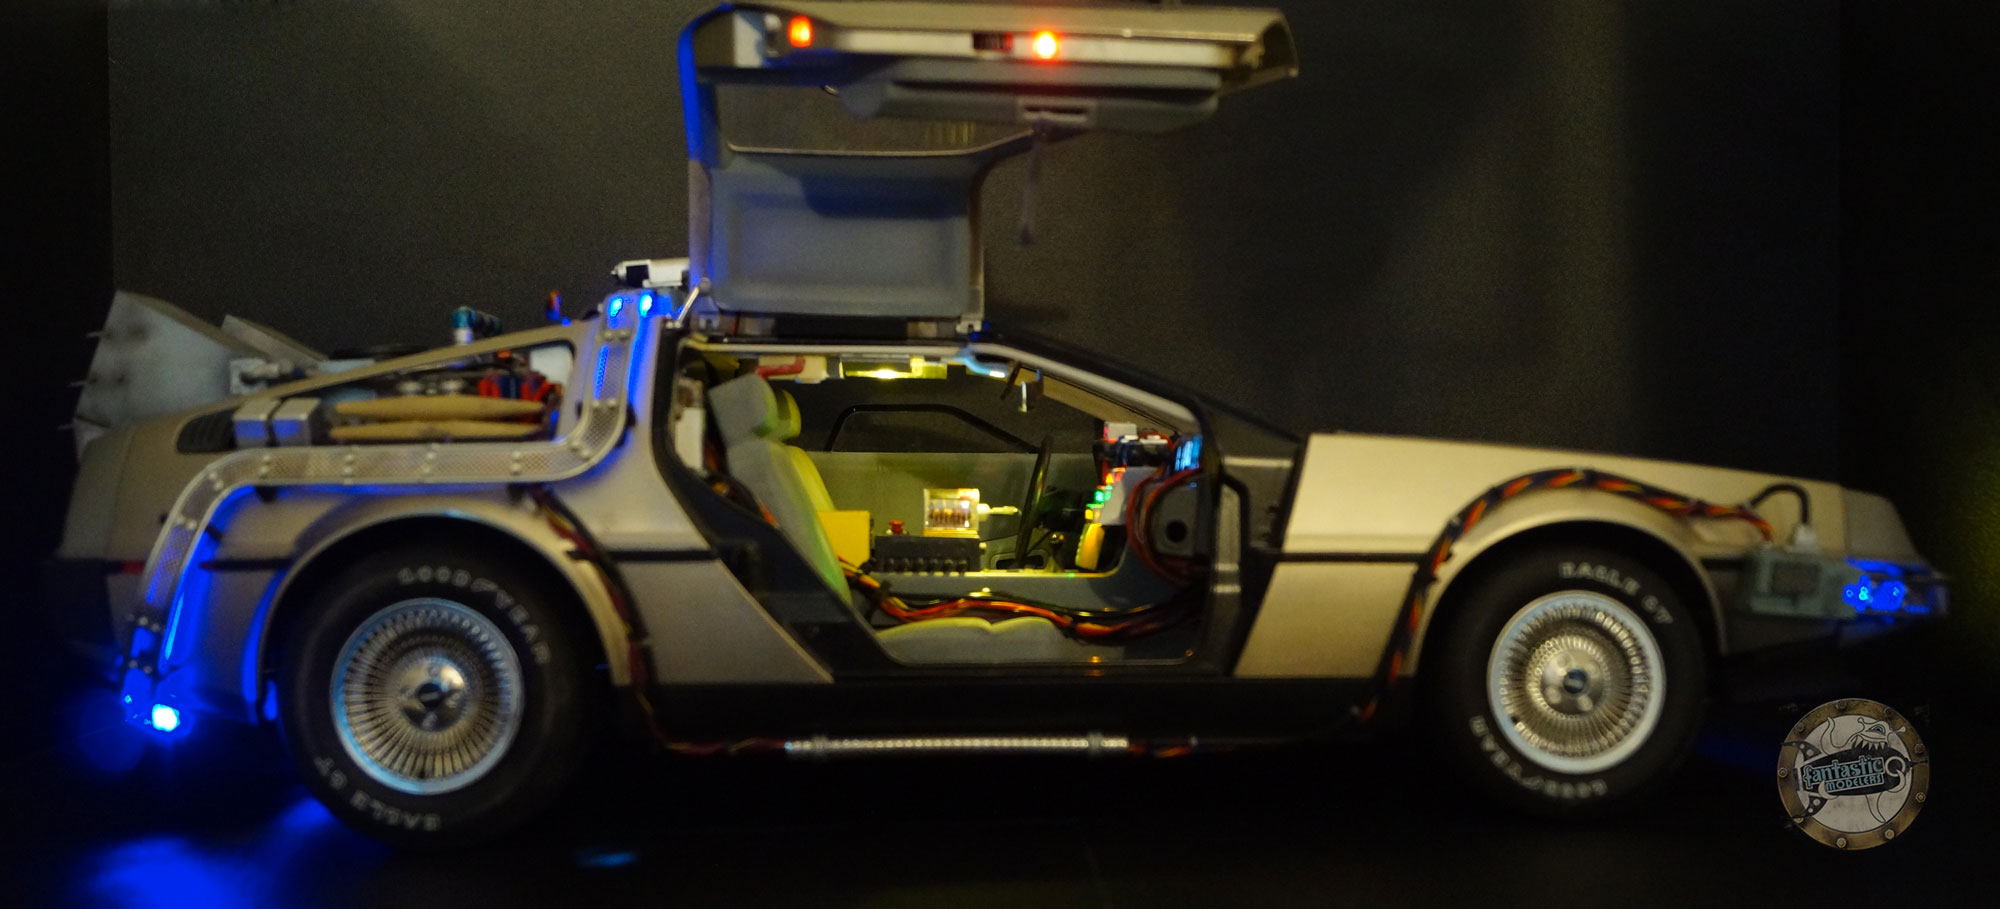
The hook
The only real creation of my own is the power hook that Doc uses to inject the 1.21 GigaWatts of electrical power. The hook must come into contact with a cable linked with the city hall clock wich must be hit by a lightning bolt at a specific moment. This hook is not proided with the kit. I made it using an hollow brass rod at the end of which I attached the hook. The hook itself is a thin brass rod I bent :


The cable is a painted guitar string. I had also to design the unit that link the hook to the rest of the car. It is made with plastic card and painted with aluminium Alclad metallic paint :

DeLorean Eaglemoss exhibitions
For now, I have exhibited my deLorean only one time at the festival des Imaginaires du tonnerrois but I intend to show it again soon at Migennes or Cusset.
by petersteven